The Floorgan
The Beginning
My father plays keyboards but he learned on an organ. He’s always lamented the fact that his modern synthesizers have no floor pedals like an organ does. They exist but are very expensive and rare.
When I found a broken down old Wurlitzer on the side of the road a plan began to form.
Scrappers had gotten to the organ and there wasn’t much left except the pedals. They were bolted down quite securely and took some time to remove with a wrench and socket set. I received quite a few odd looks from passers-by, but no matter.
After getting the pedals home and hosing off the years of dust and grime this is what I was greeted with:
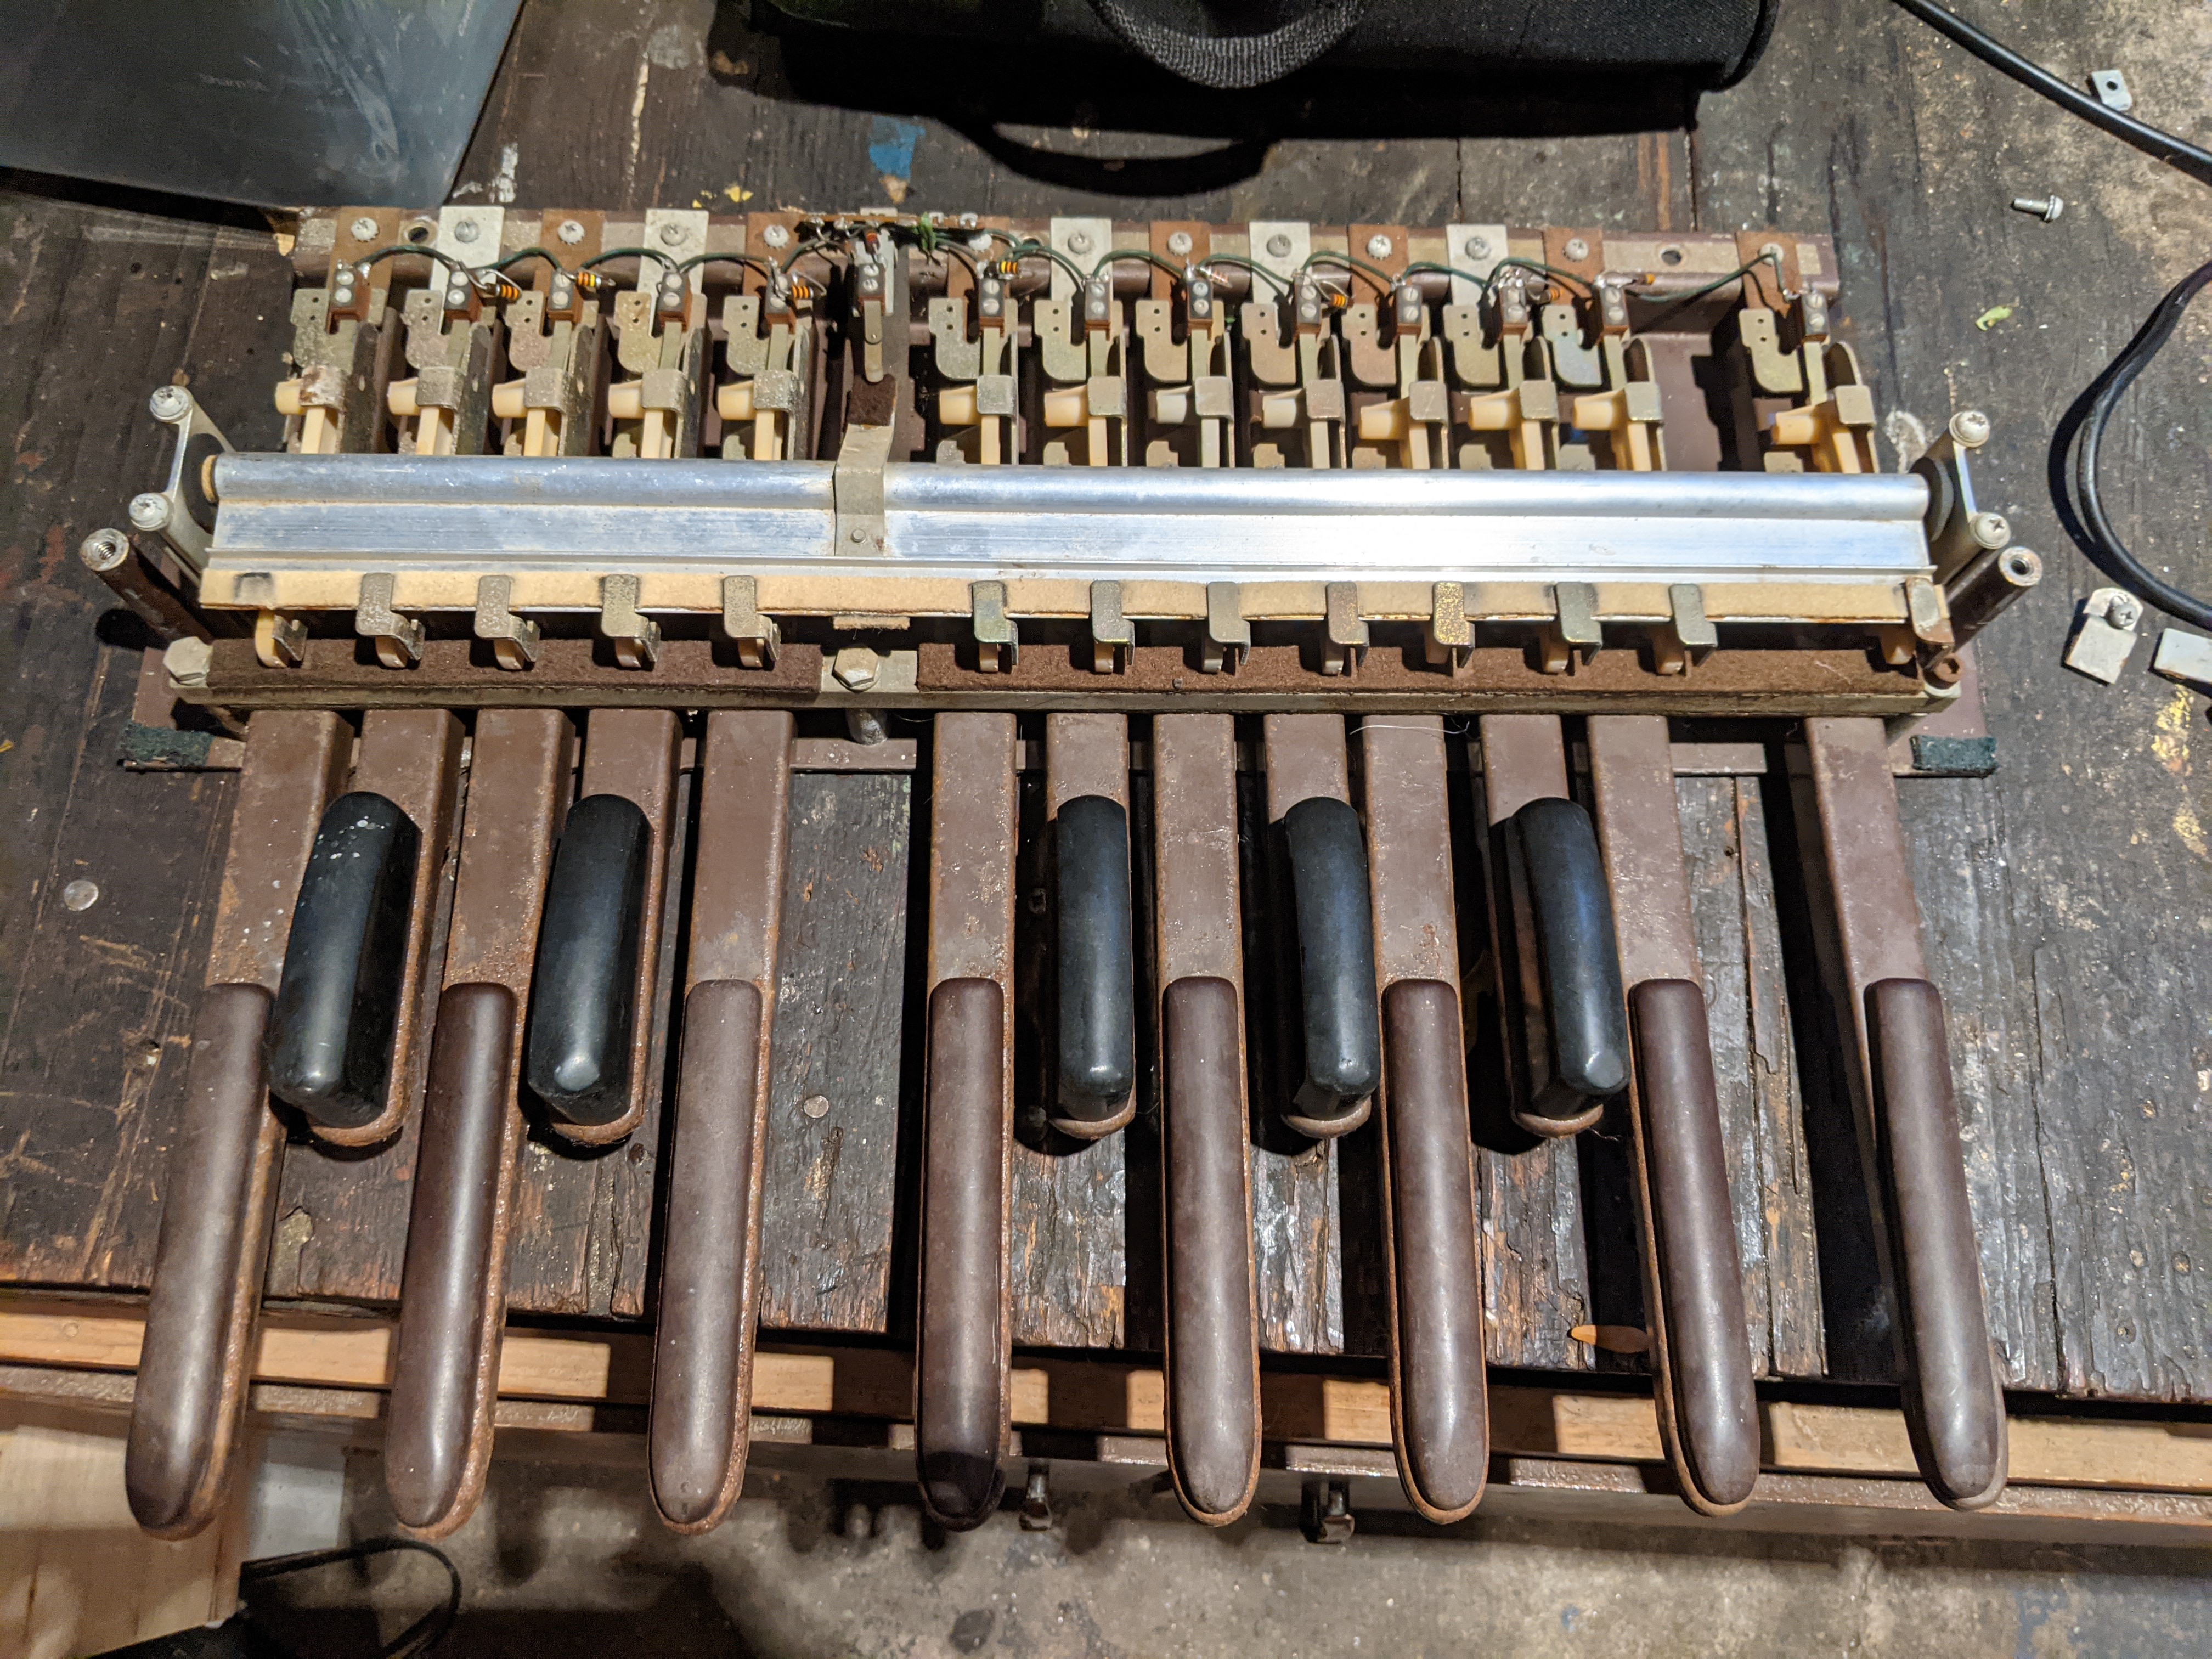

Broken things, rust, and decay. But it’s a start!
Cleanup
Nothing to do but take it to bits and clean it up..
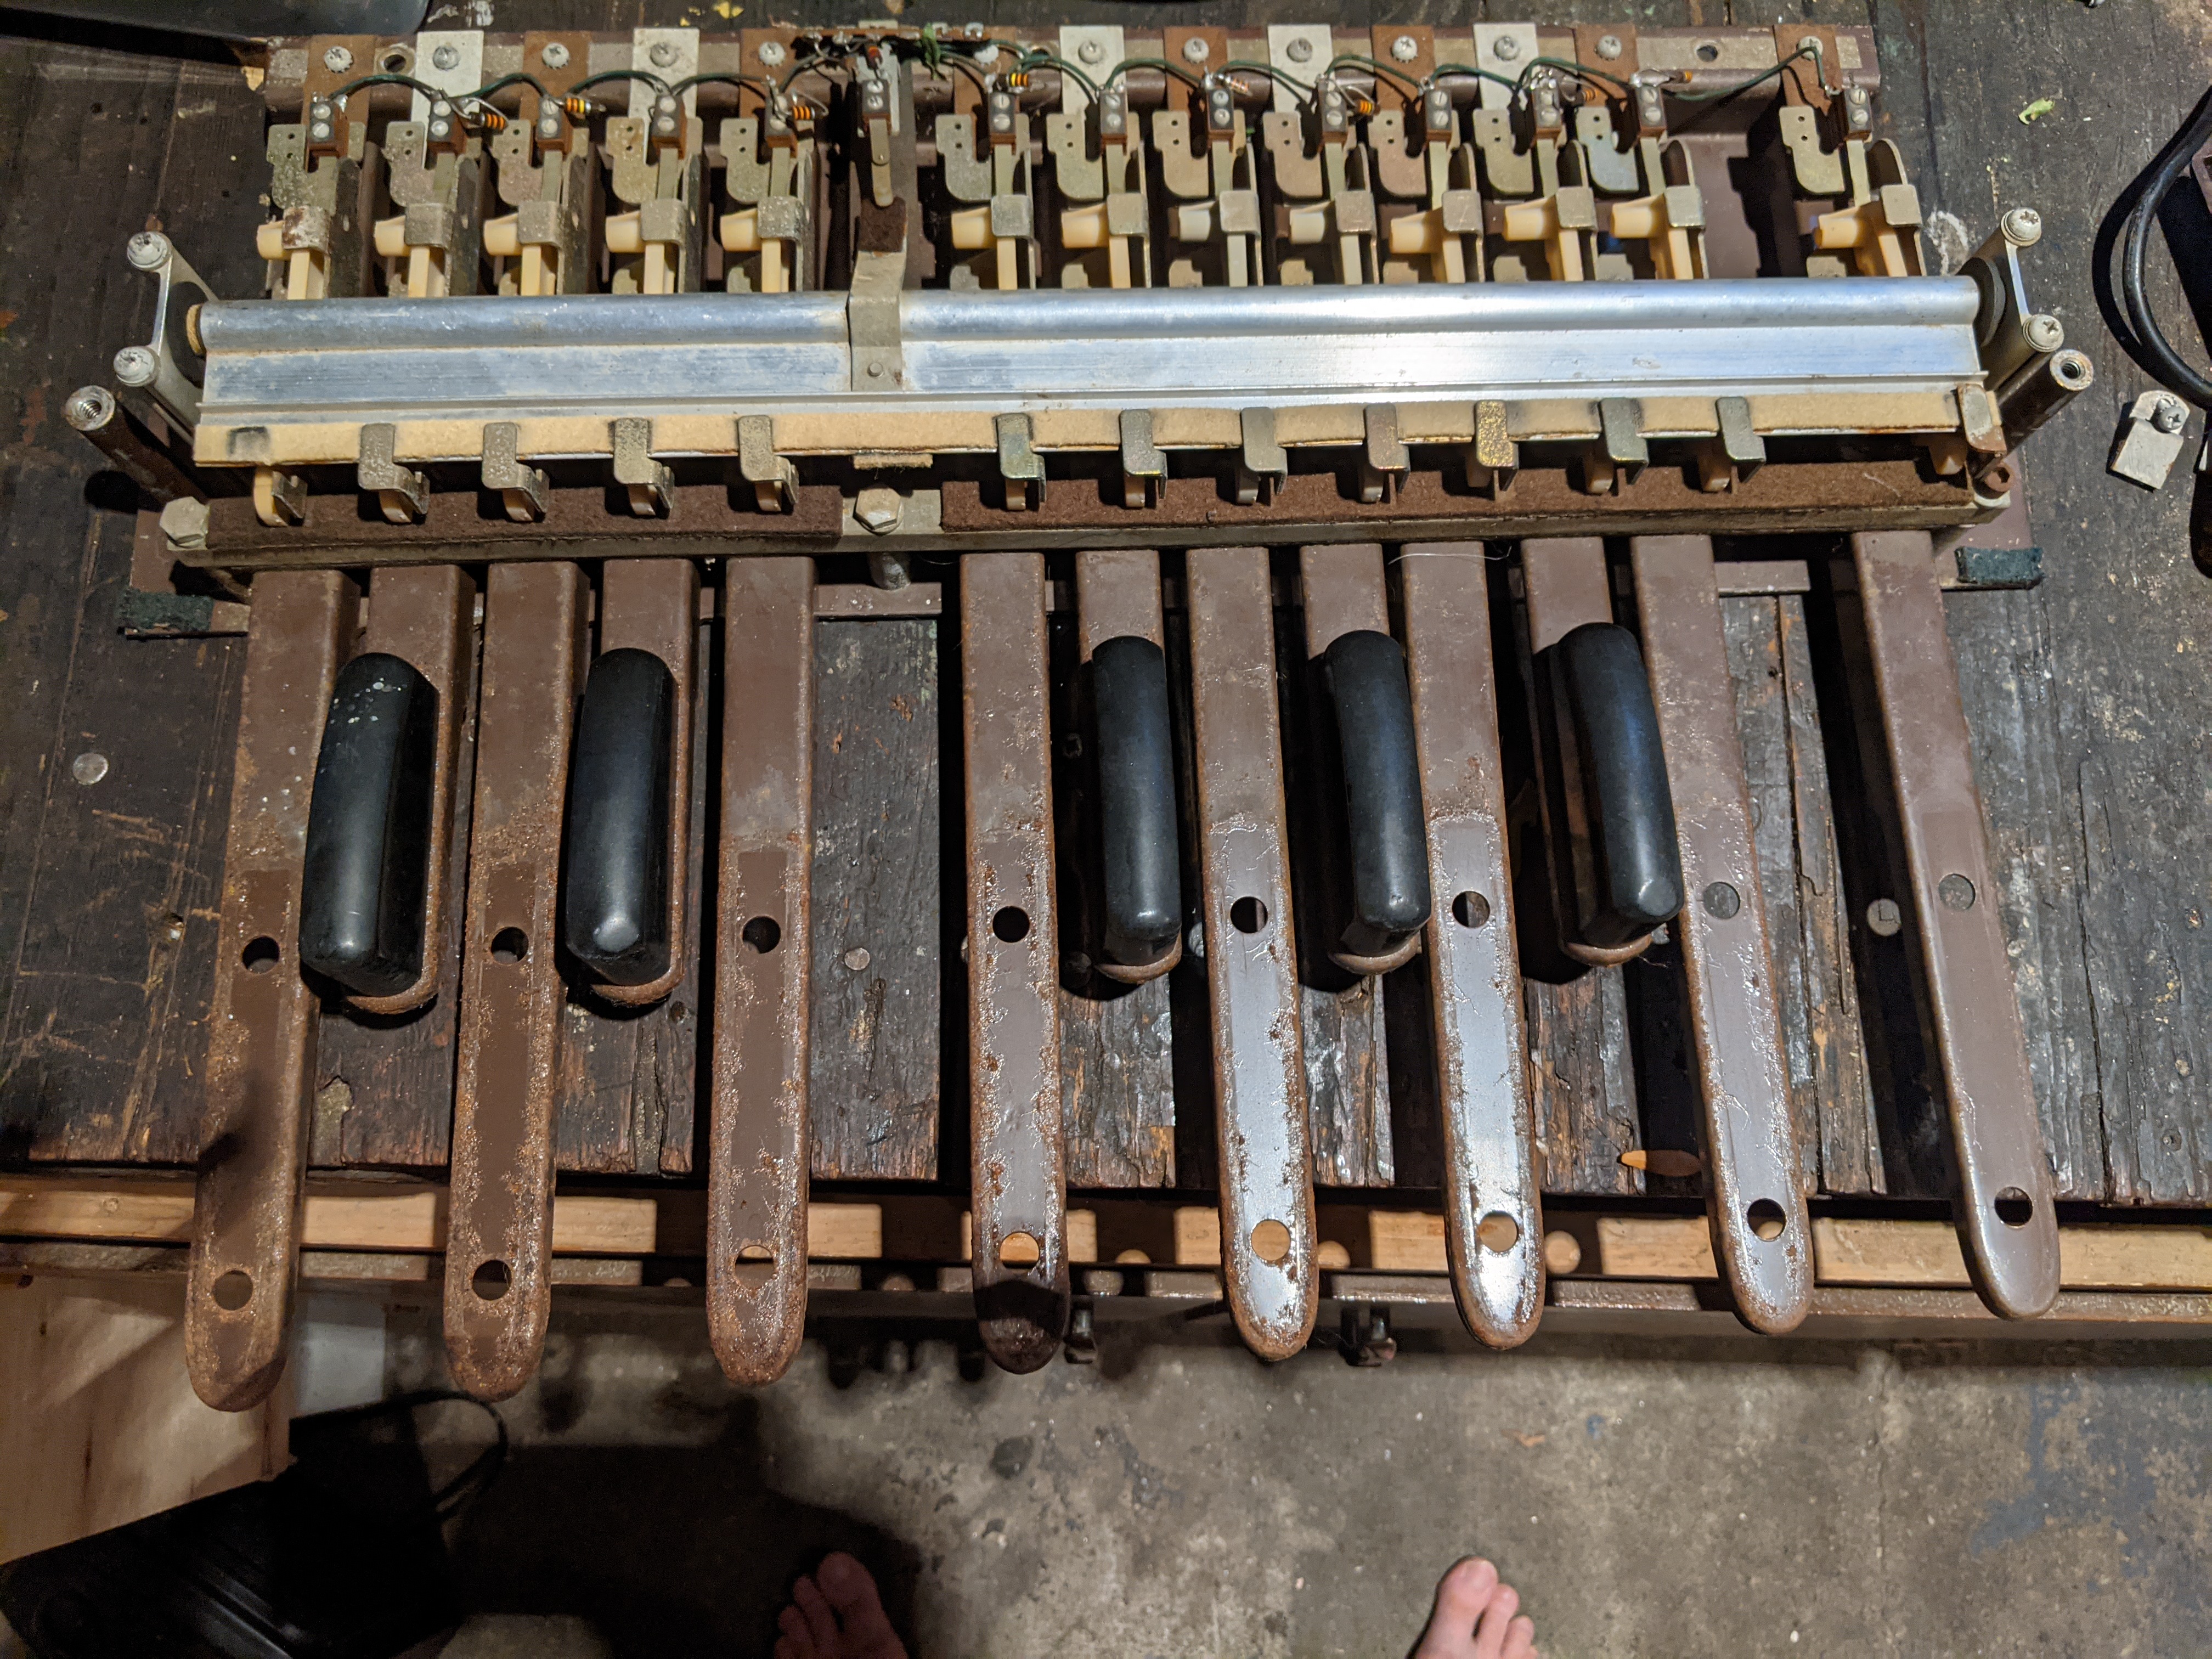
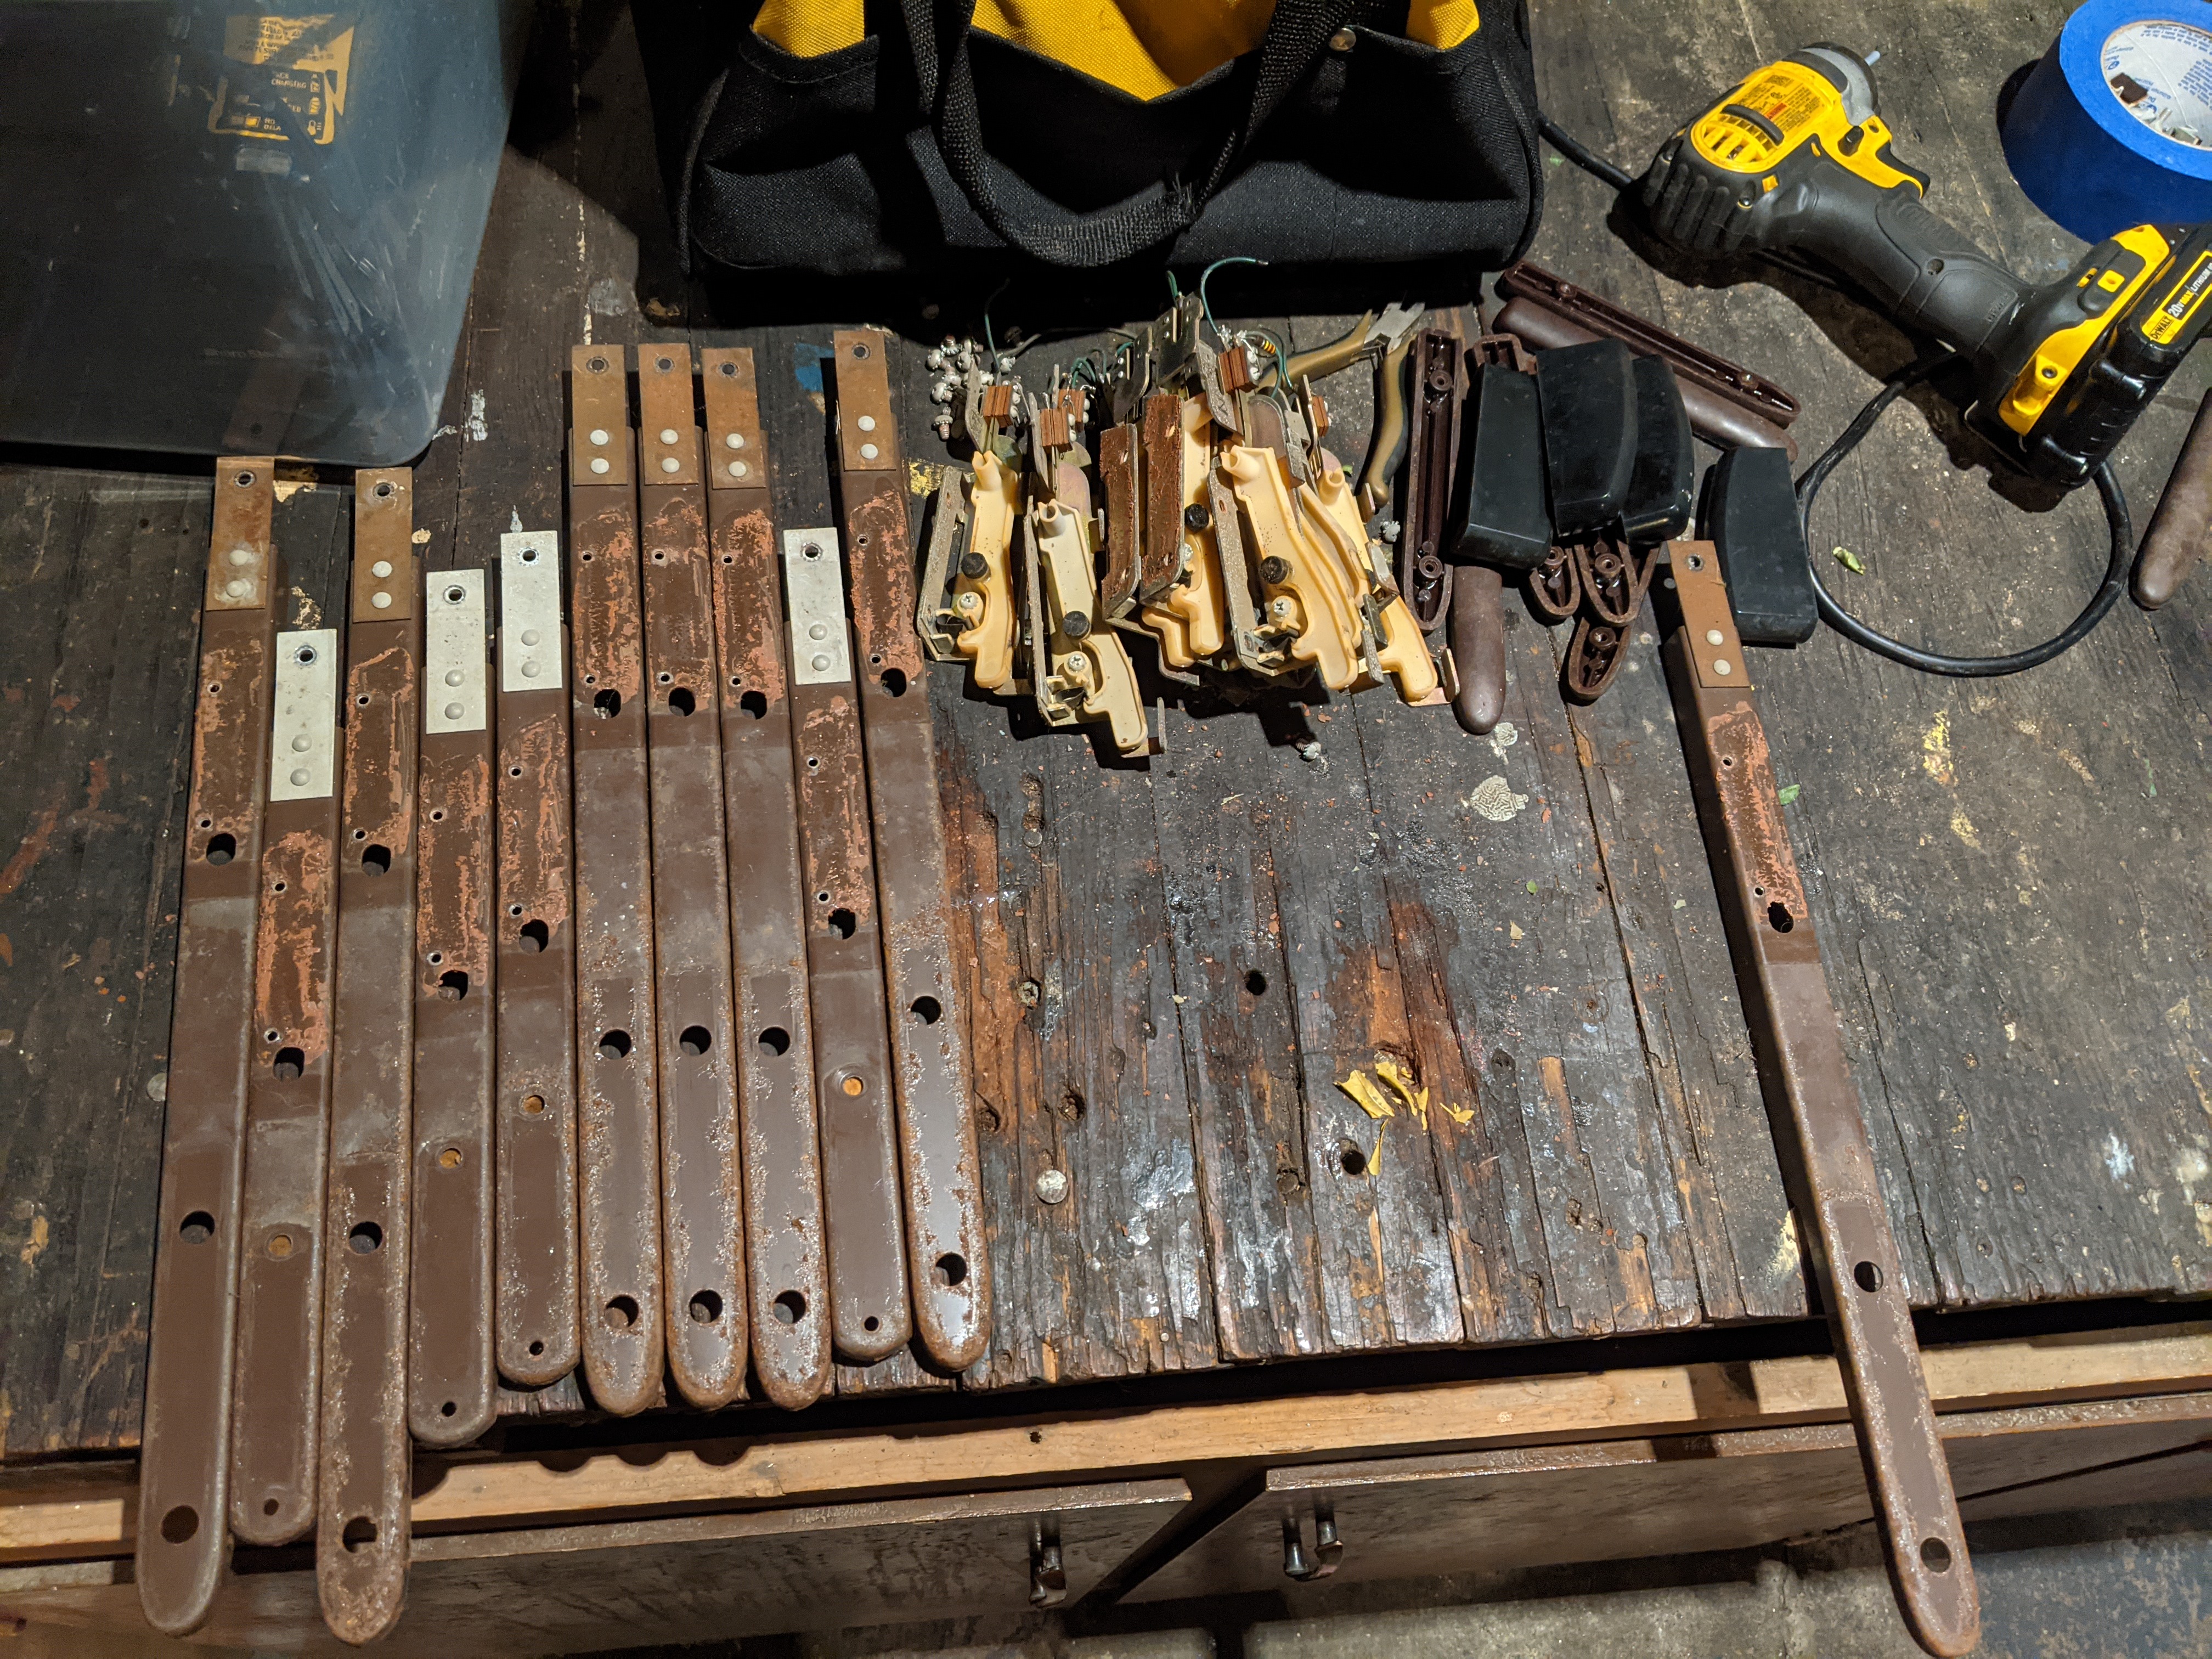
Down to metal.

Unfortunately some springs are broken and I have no idea what to replace them with.
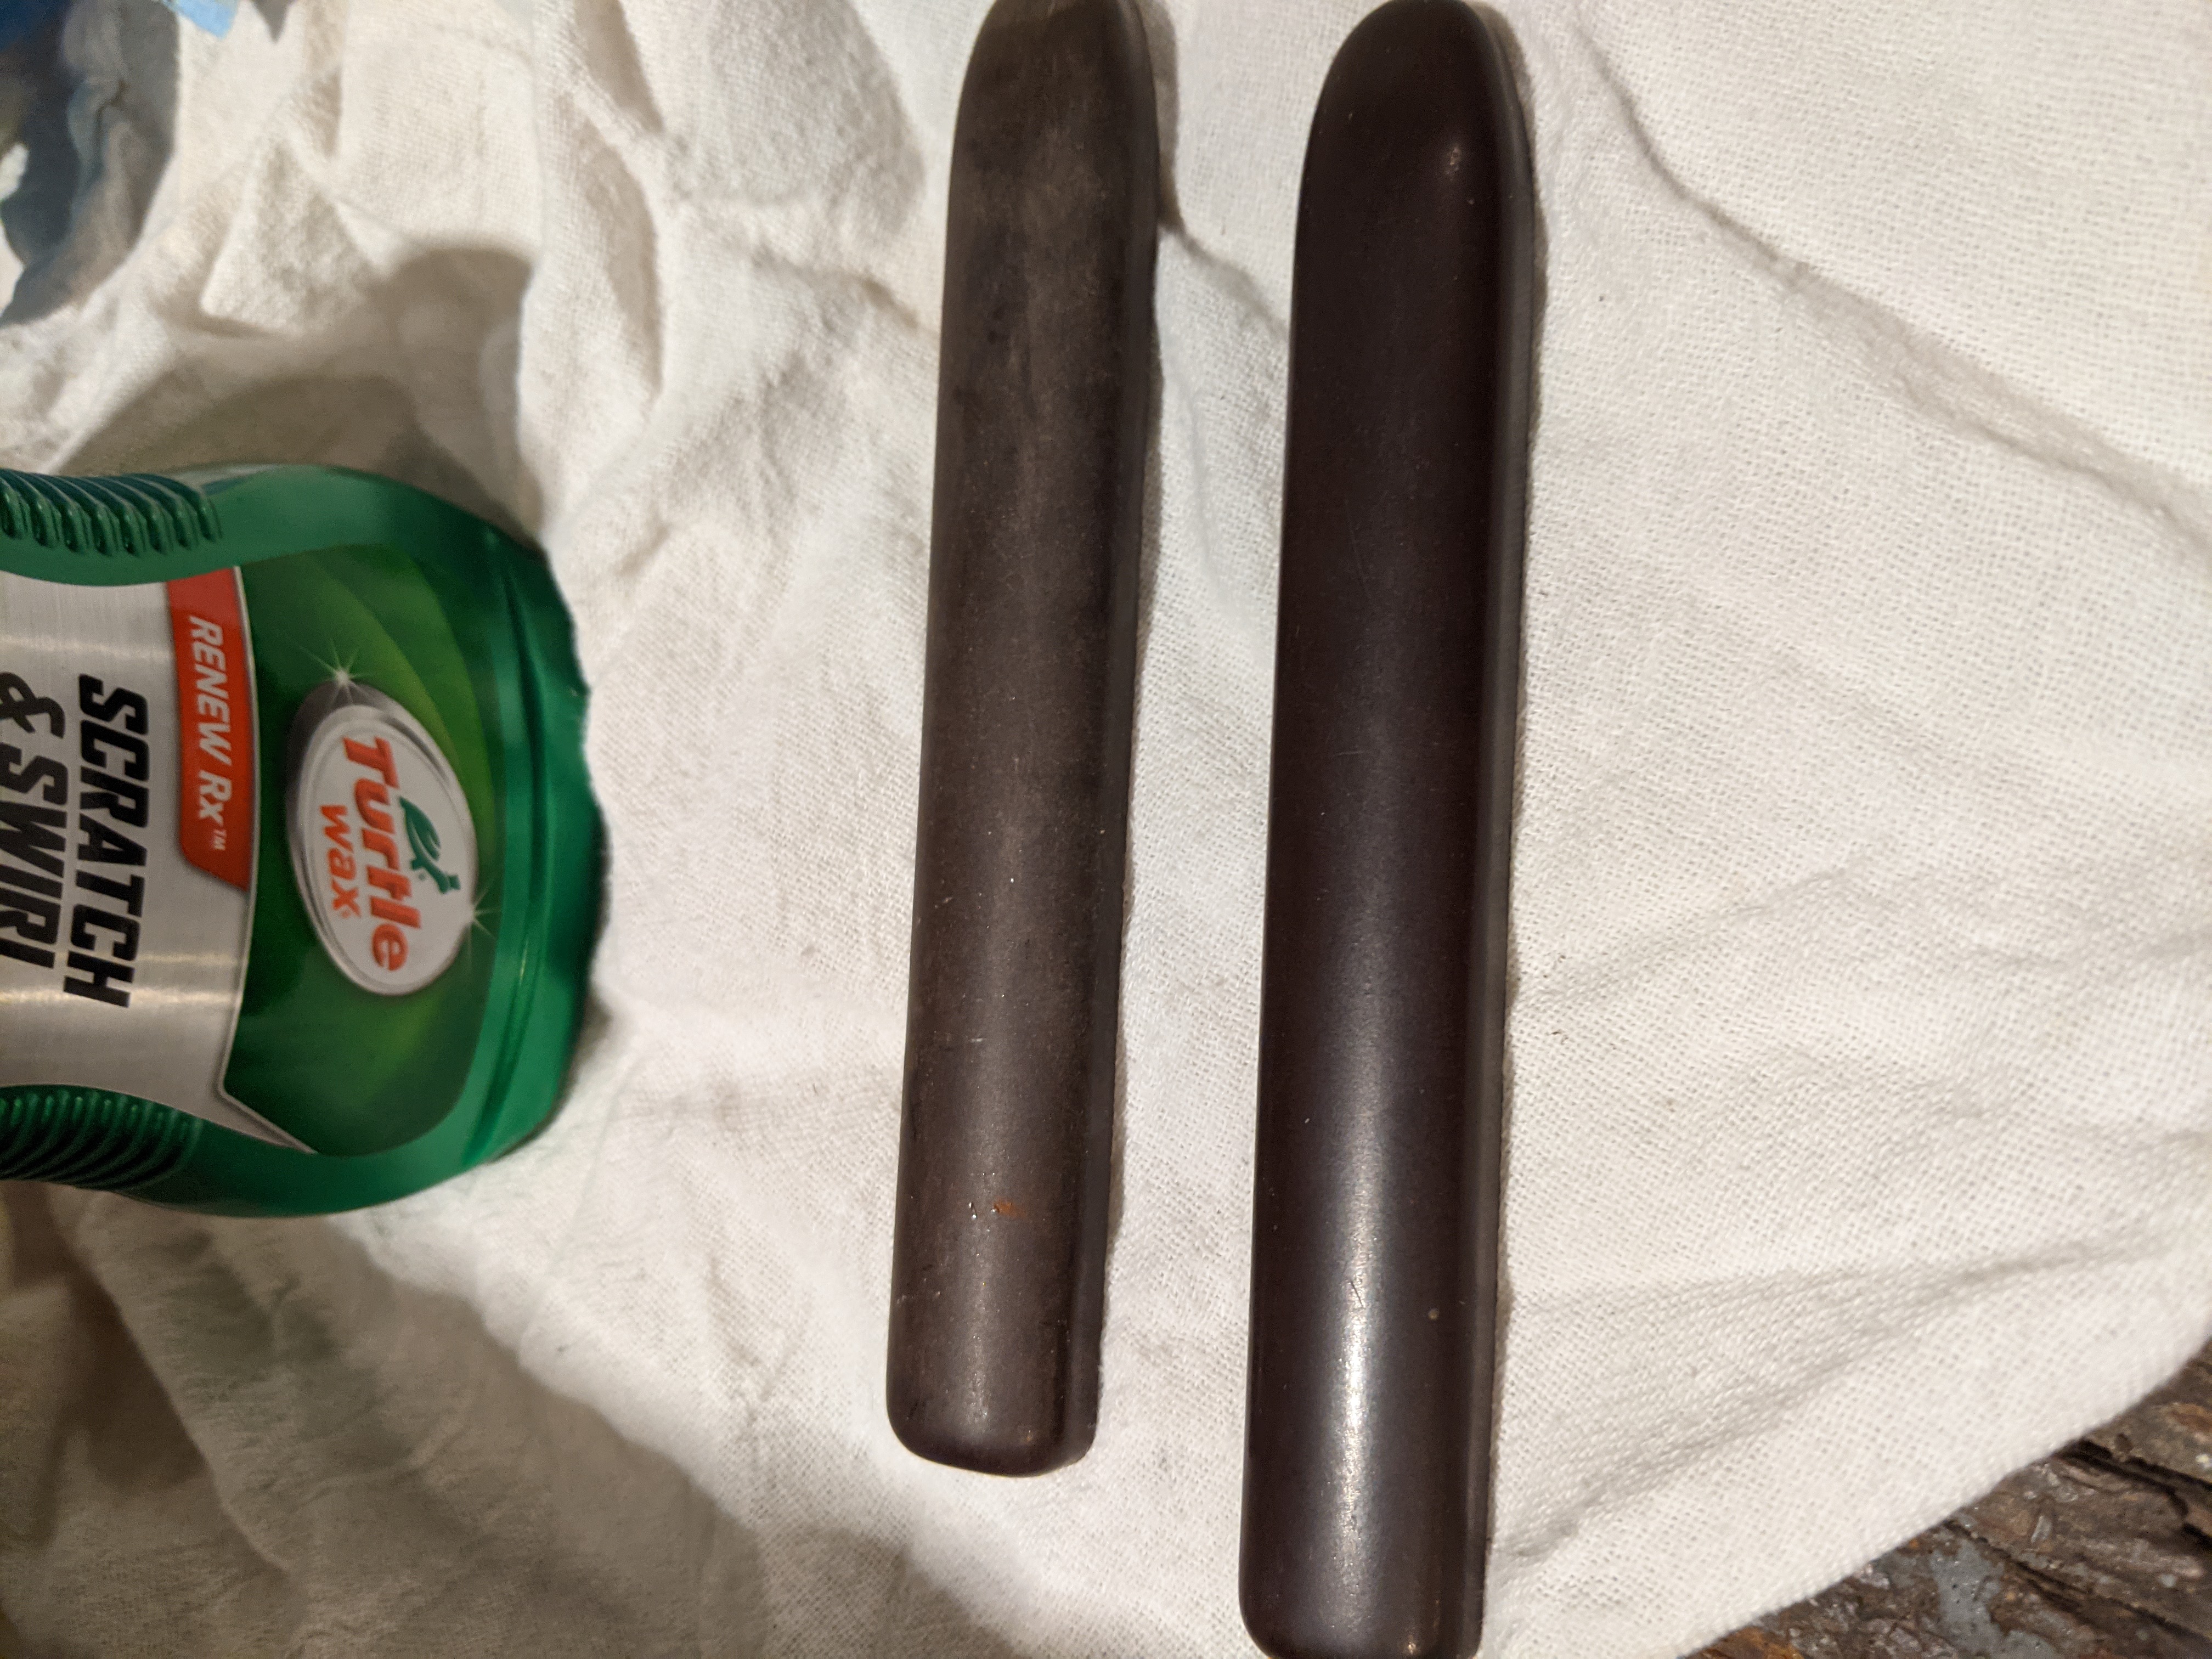
Polishing the bakelite

Sanded all the rust off and painted with gloss black. PAINT EVERYTHING BLACK. ALWAYS.

Well okay, I painted the base-plate grey. Several days later I figured out what to do about the broken springs. HACK SAW BLADE! It’s about perfect.

Springs replaced. The blobs are jb-weld steel stik. It was needed to make it interface properly with the pedals. Not perfect but it works and feels okay.
(Re)construction
It’s all cleaned up. Now it’s time to put it back together and turn it into something actually useful..
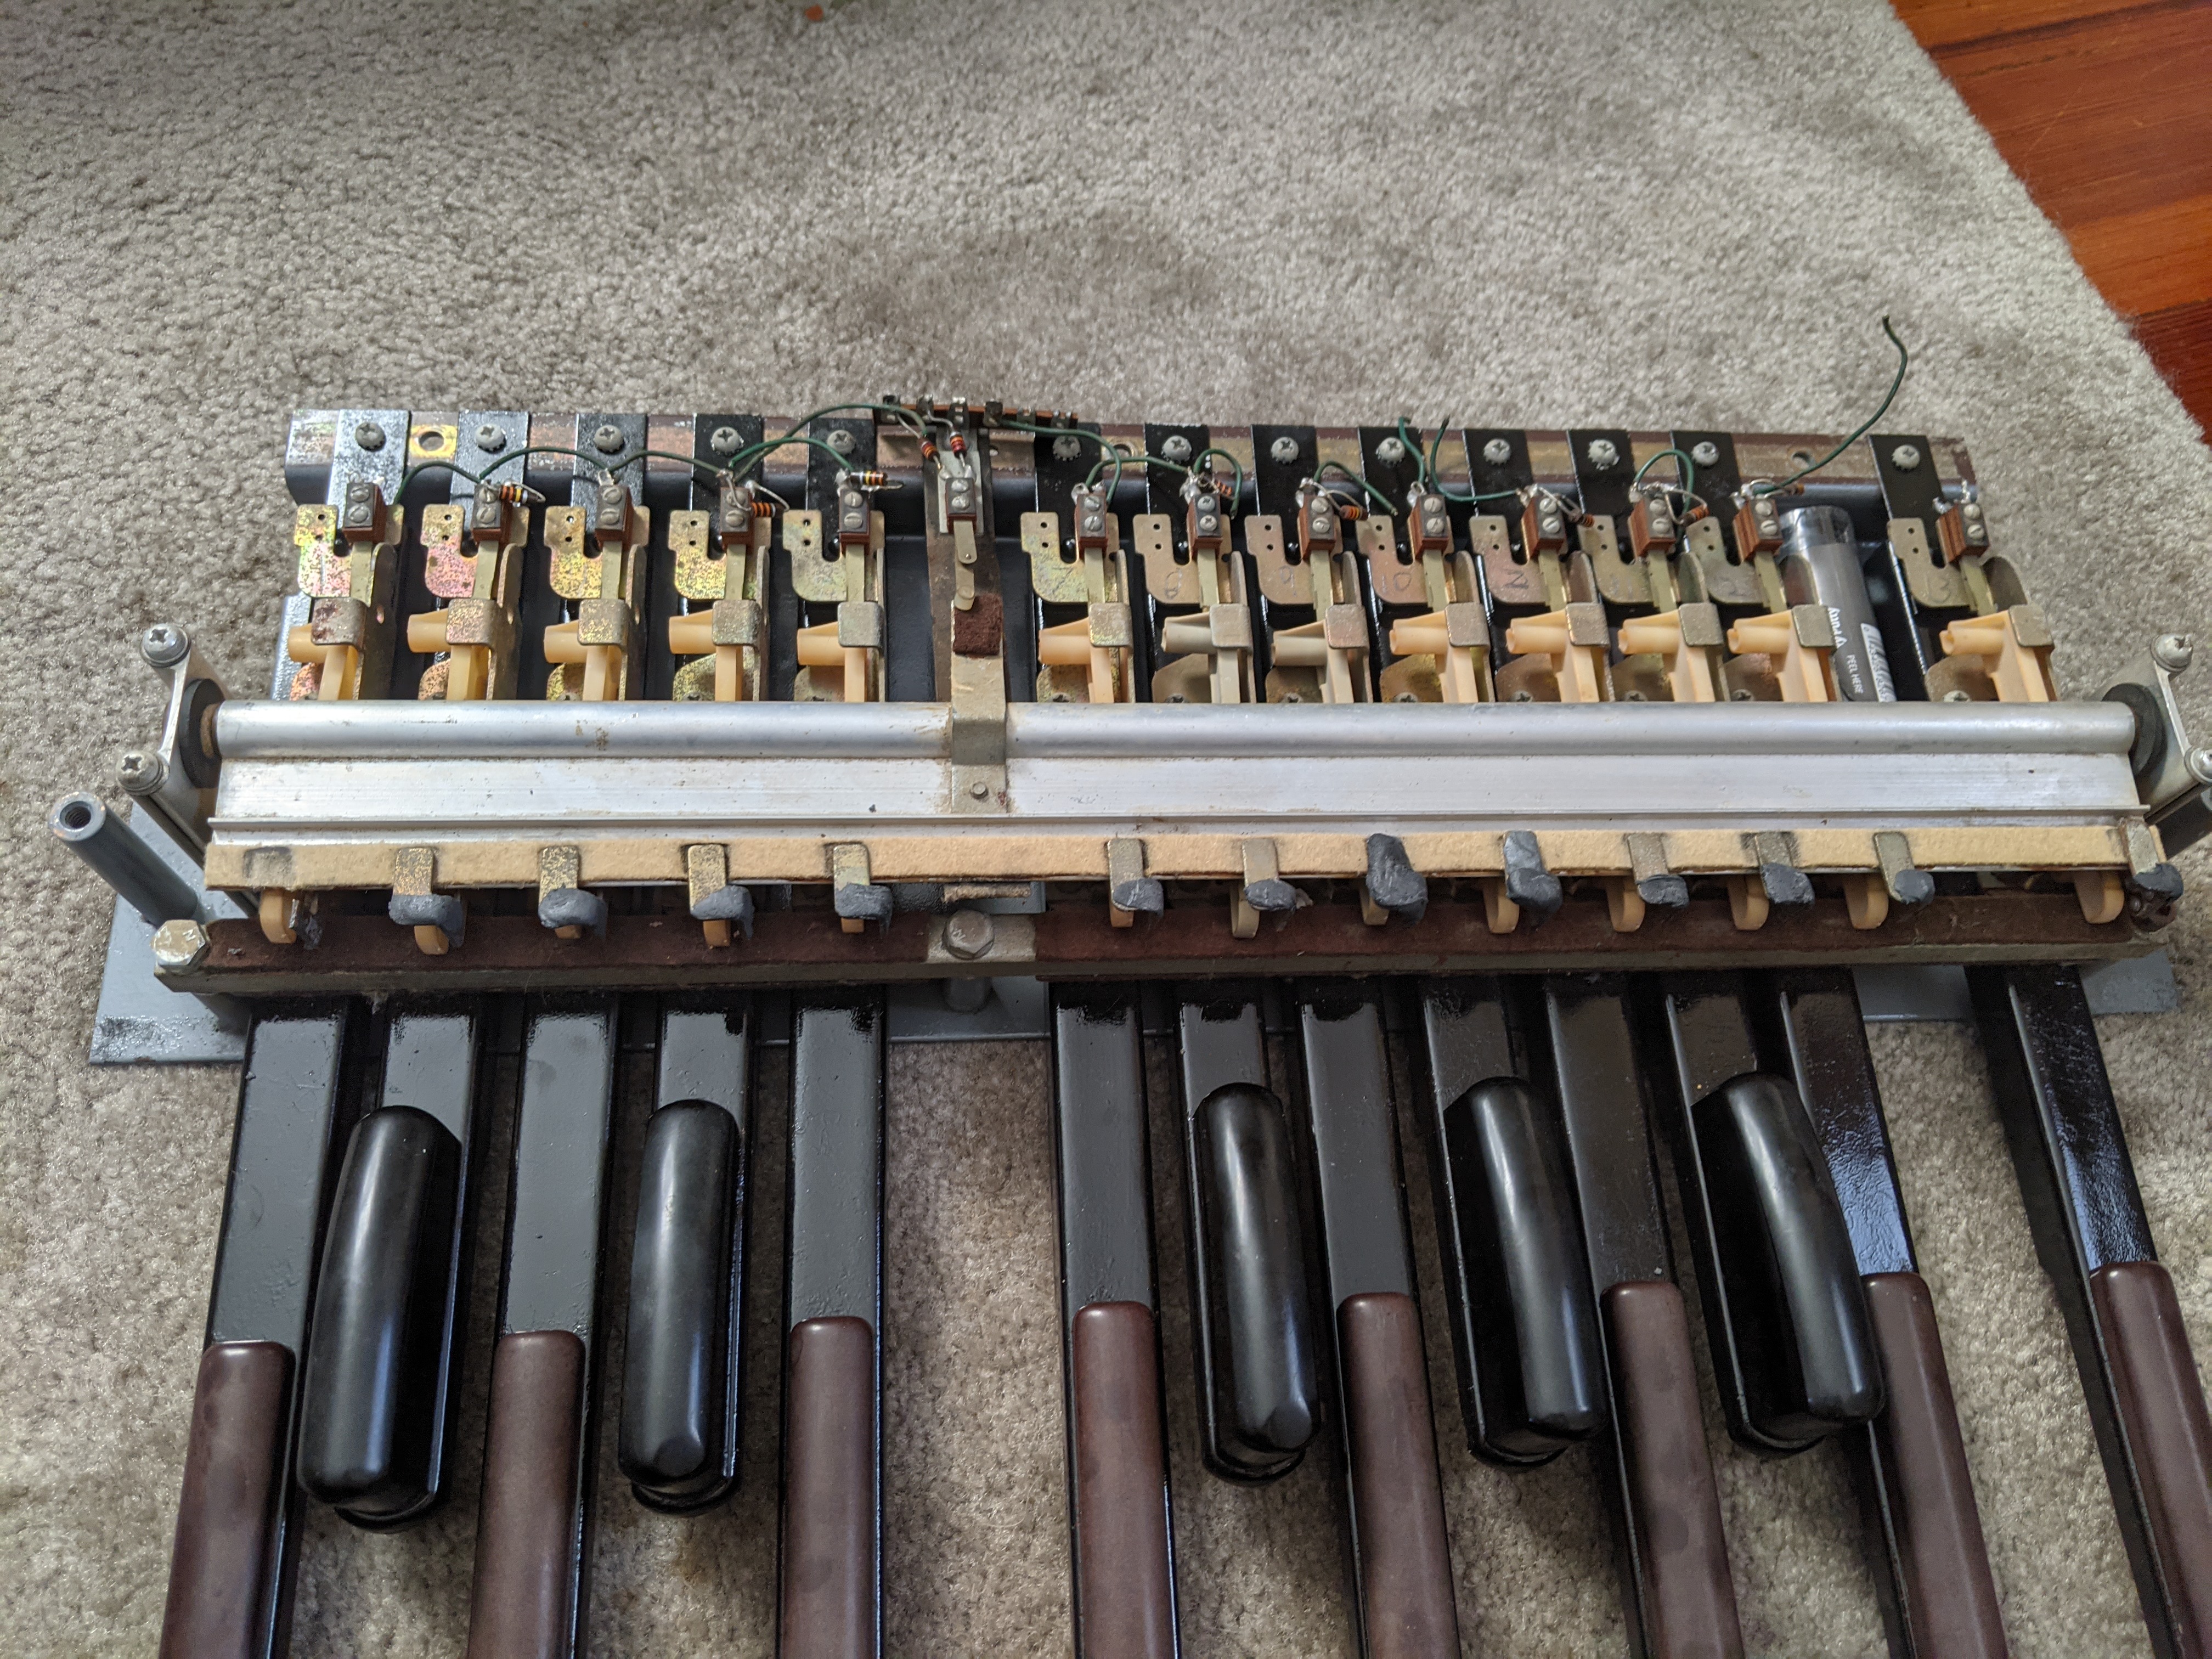
Back together with original electro-mechanical actuators. Unfortunately this system was entirely trashed. I had to remove it and come up with something new.
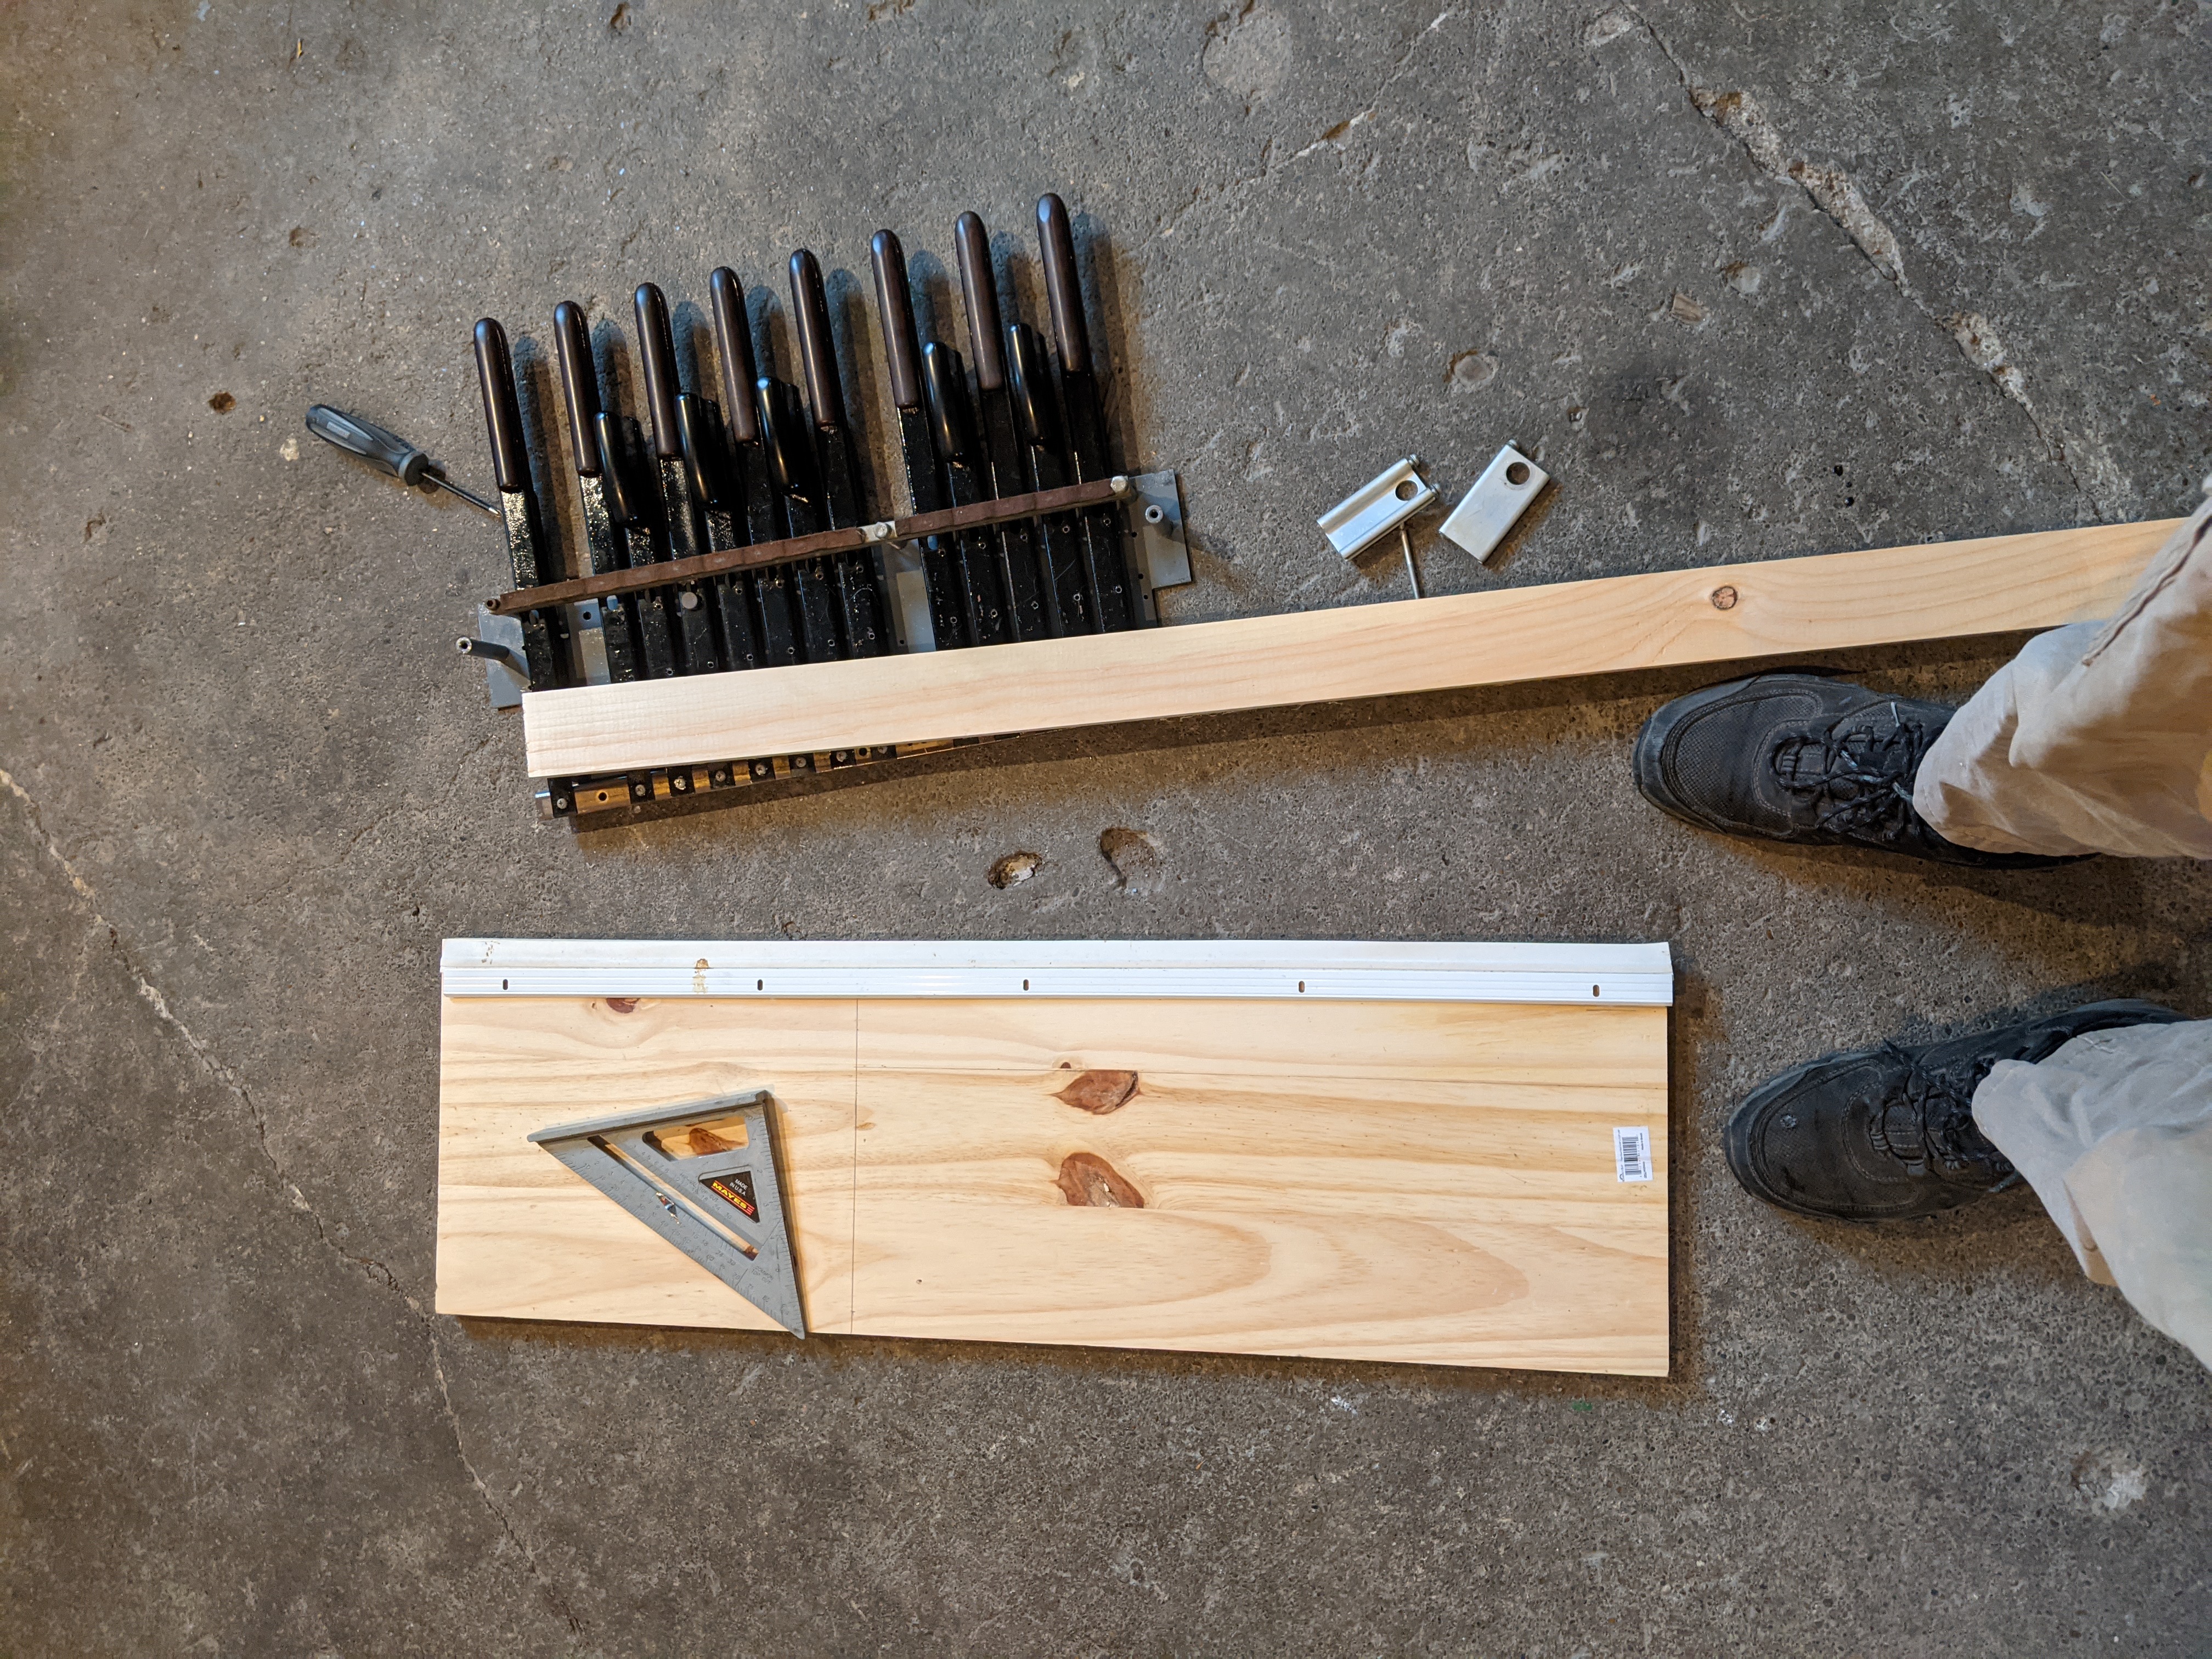
While thinking about that and waiting for parts, I decided to start on building an enclosure for the pedals. Carpentry has always been a weak point of mine so this was quite difficult. Lacking a table saw I figured out how to use an old aluminum door sweep as a guide for my circular saw cuts.
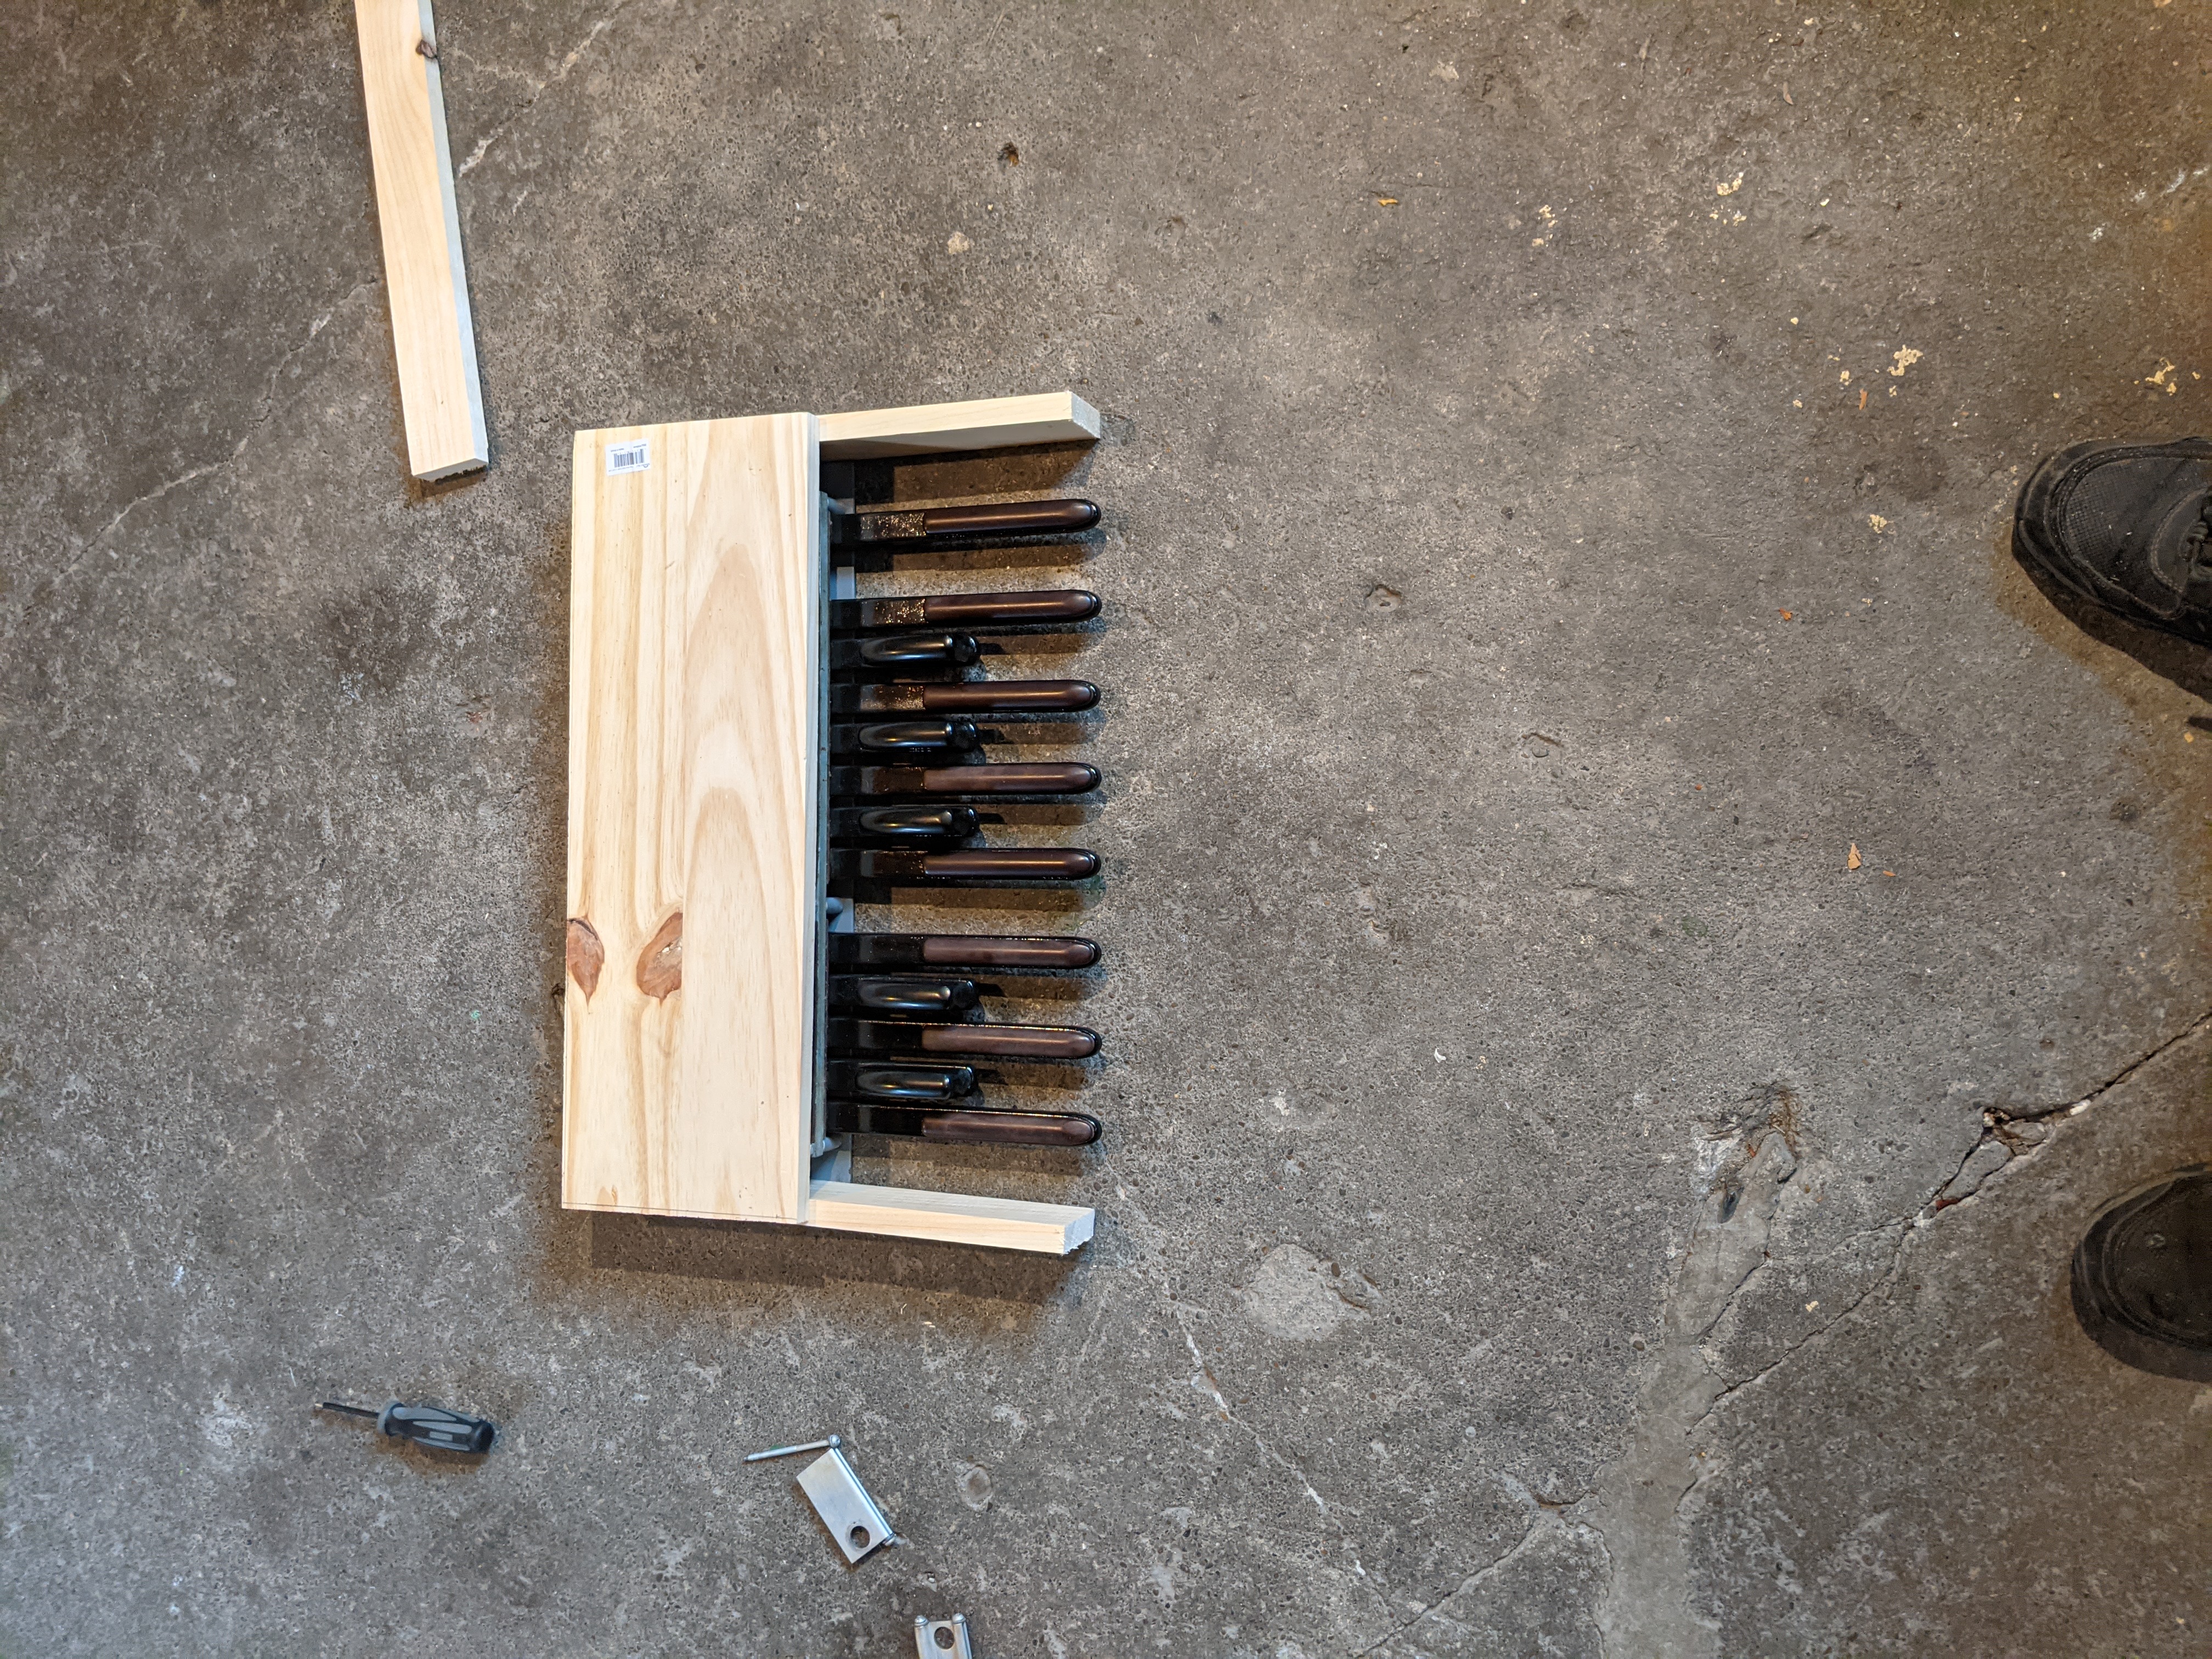
It’s not looking too bad. Test fitting before glue and screws.
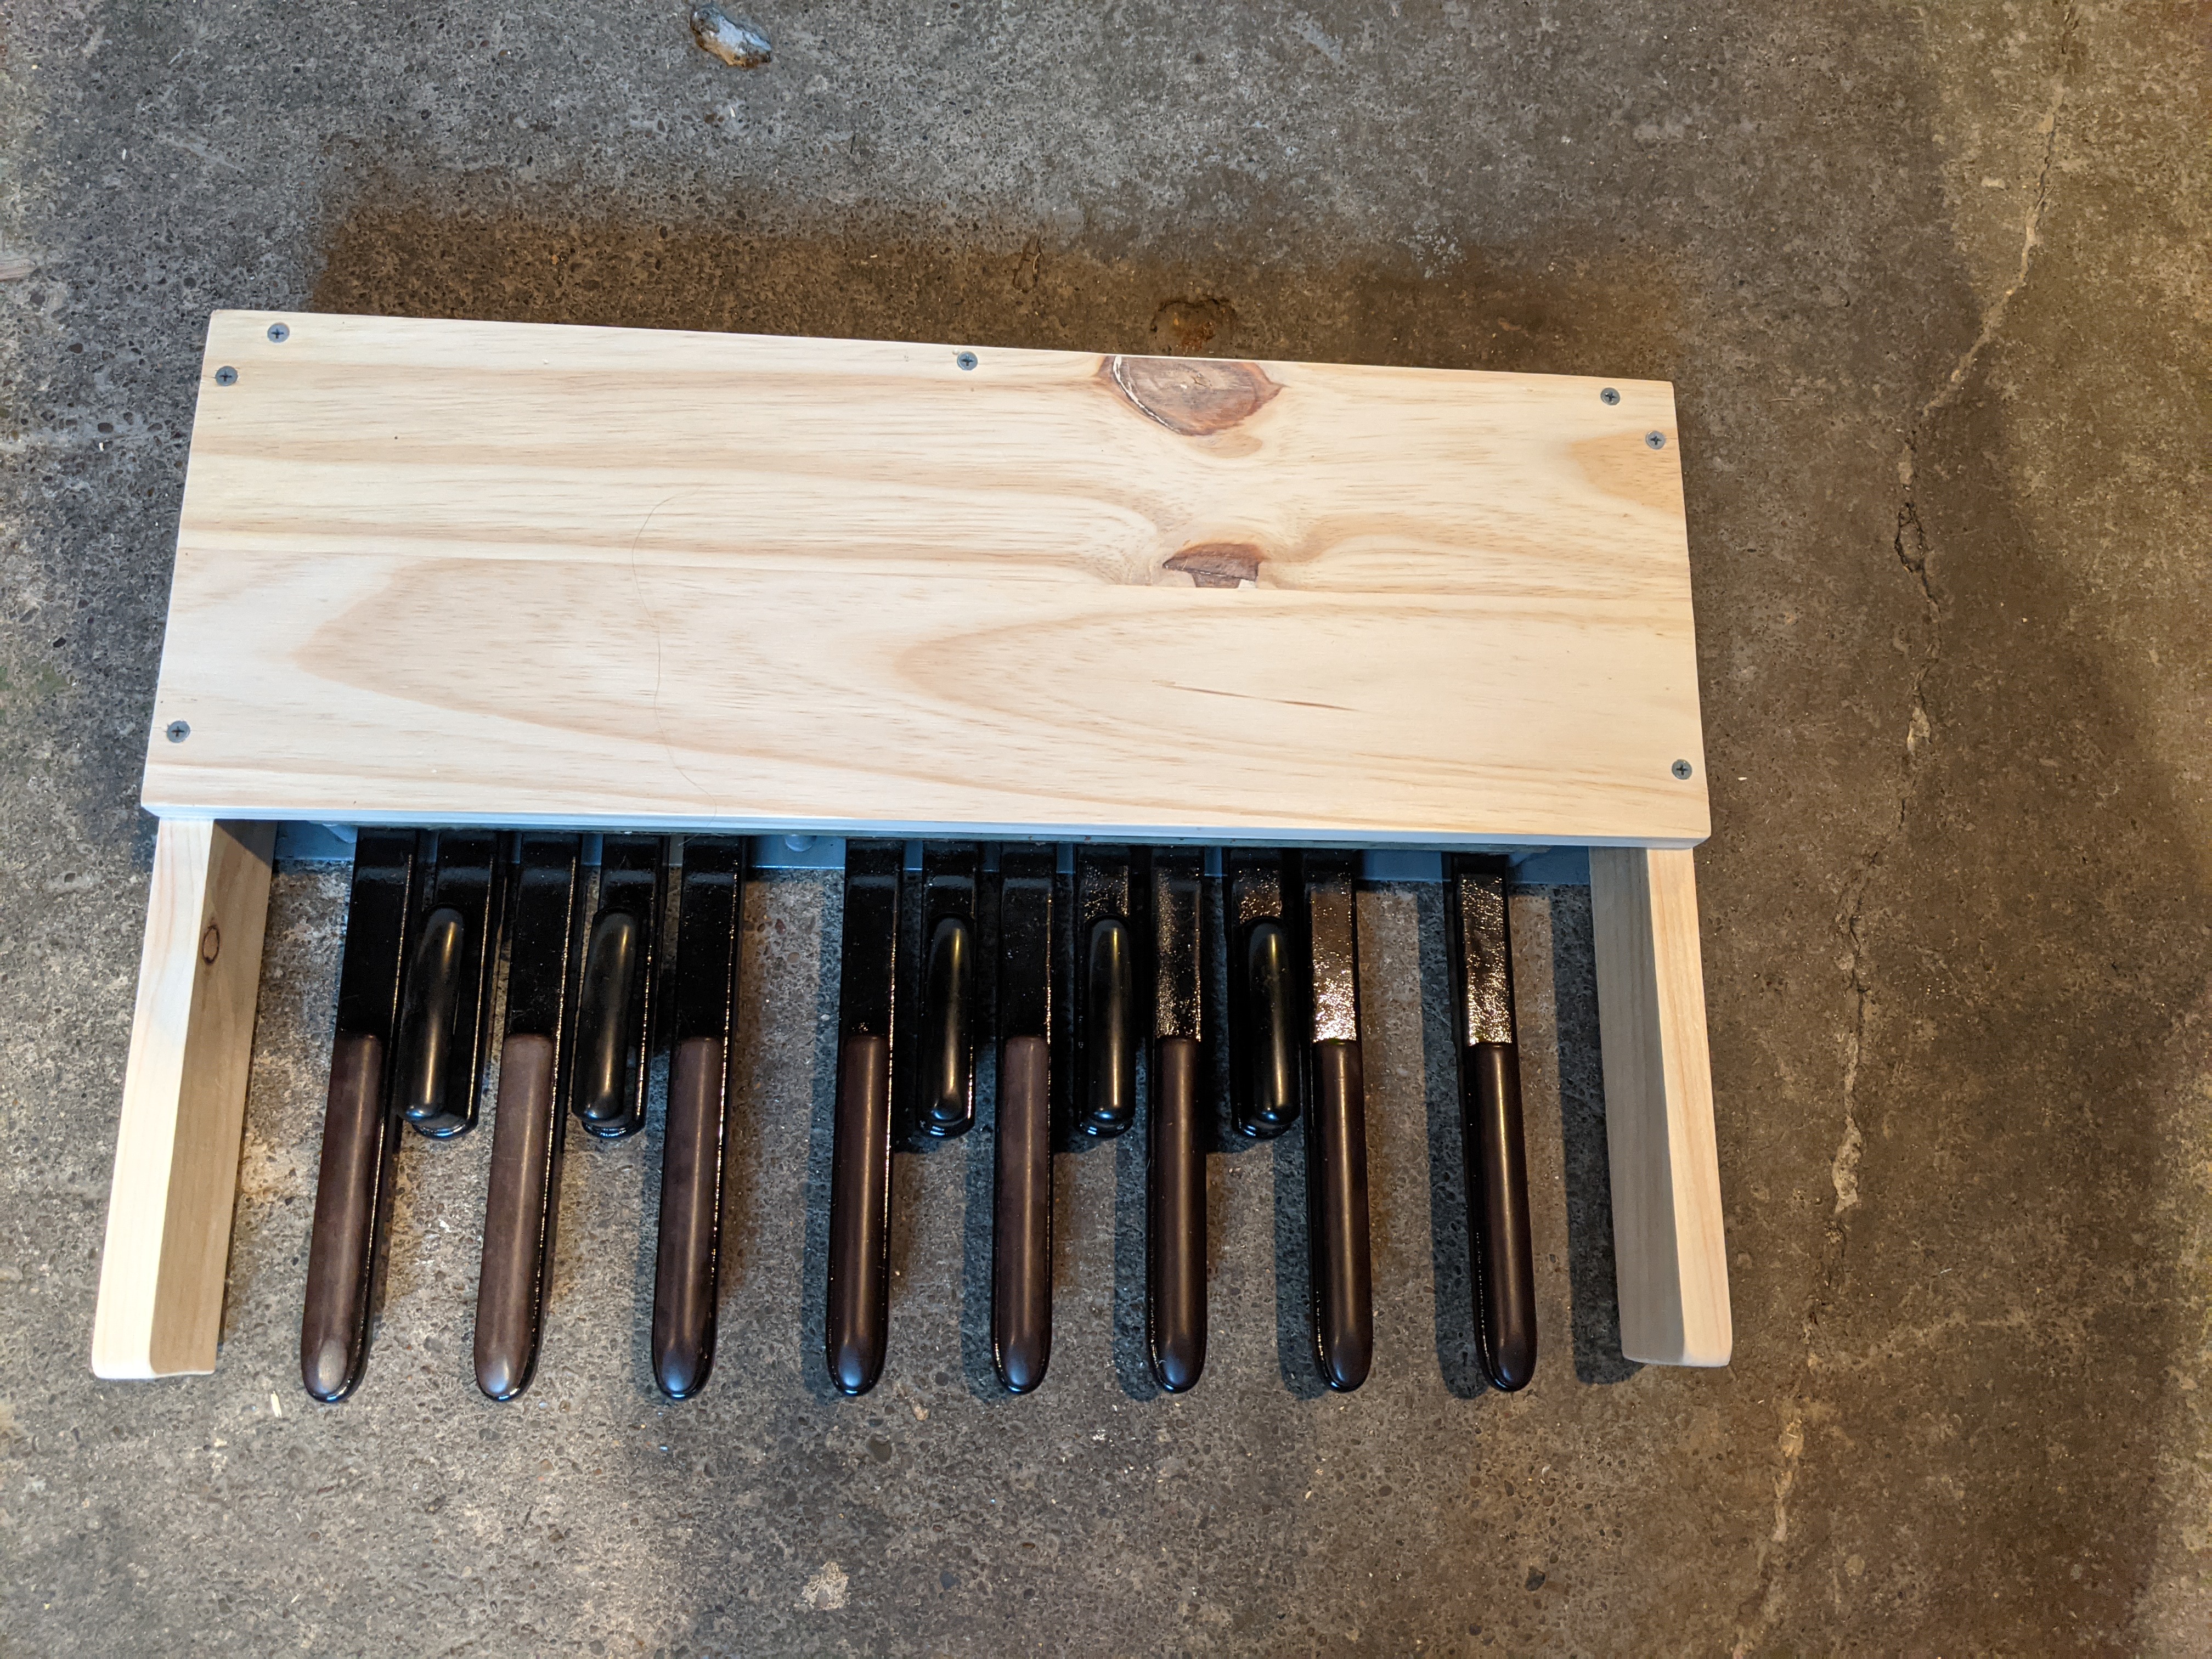
Glued and screwed. Getting this far took most of a day.

Back to the electronics! This was quite some time later. I had originally tried using magnetic reed switches but they were unreliable. Ended up settling for plain old lever microswitches. With no way to mount them I had to resort to glue. Hot glue for test mounting and jb-weld for permanent mounting. Here they are mounted and being tested.
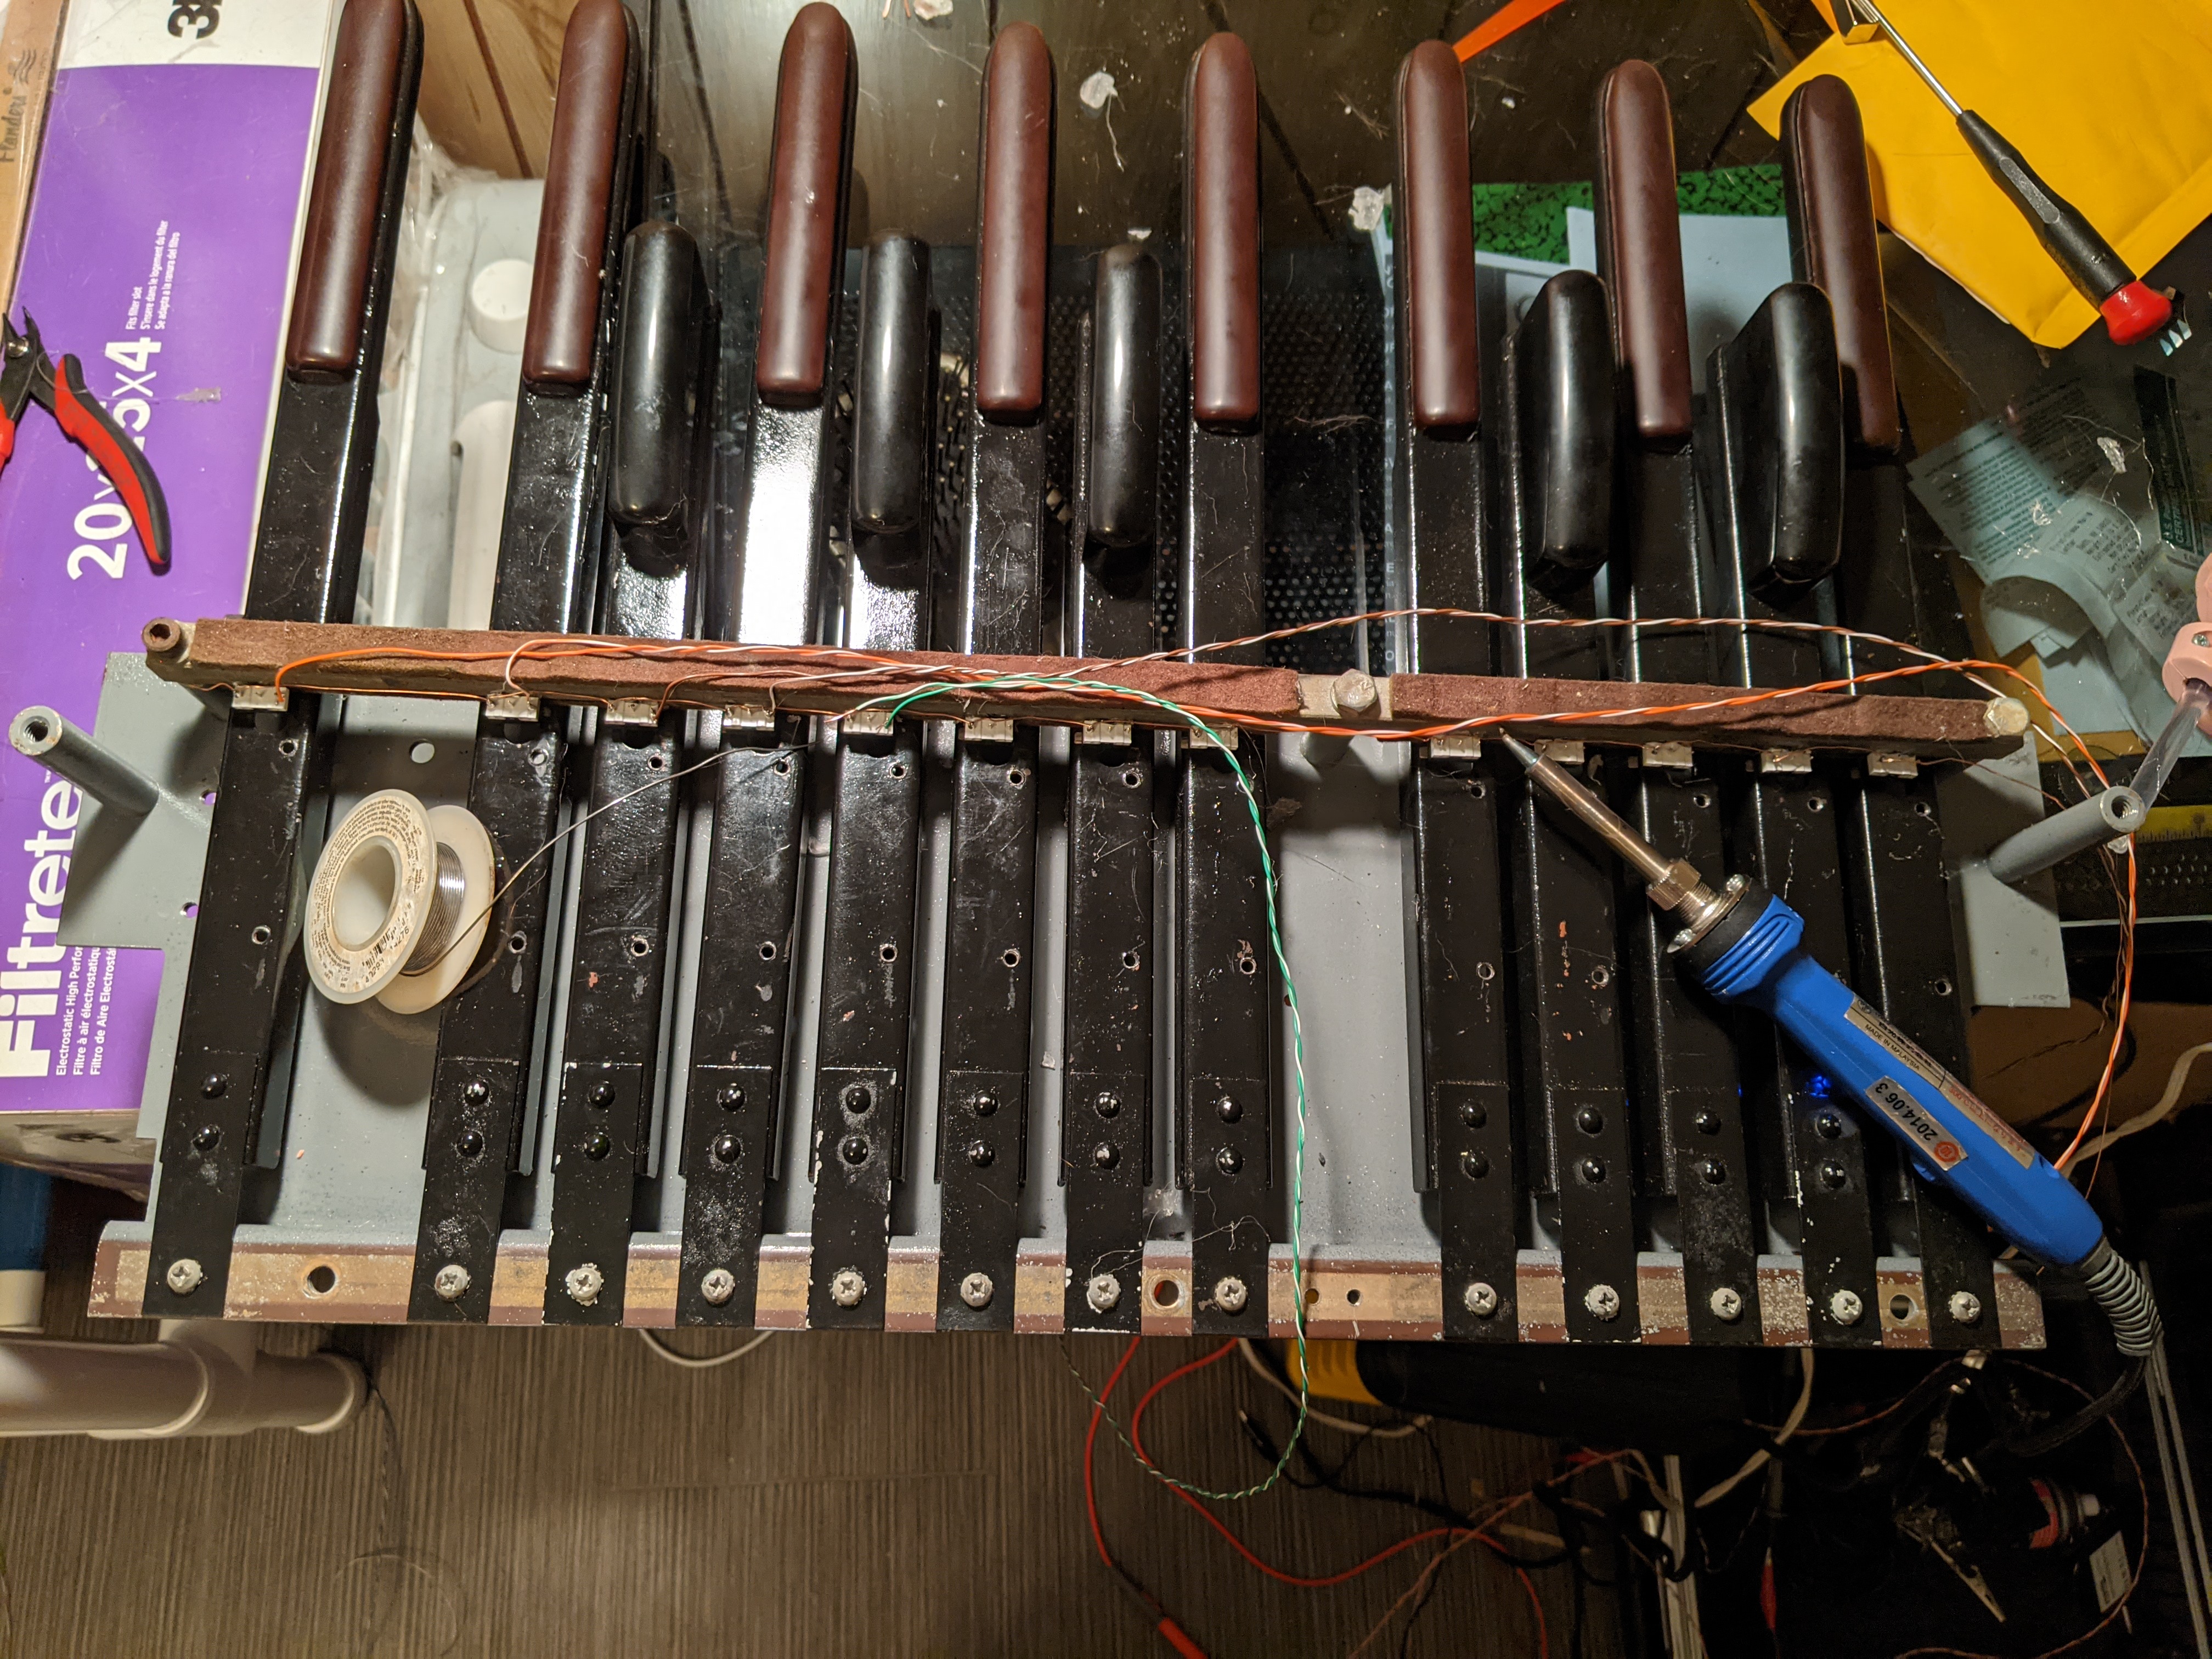
Wiring up the switches. I installed a common ground wire then an individual wire to each switch. I used solid copper twisted pair from some old cat5 ethernet cable. It worked out really well as I could use the color coding to keep track of the wiring. It also soldered very nicely. Mmm.. Lead fumes!
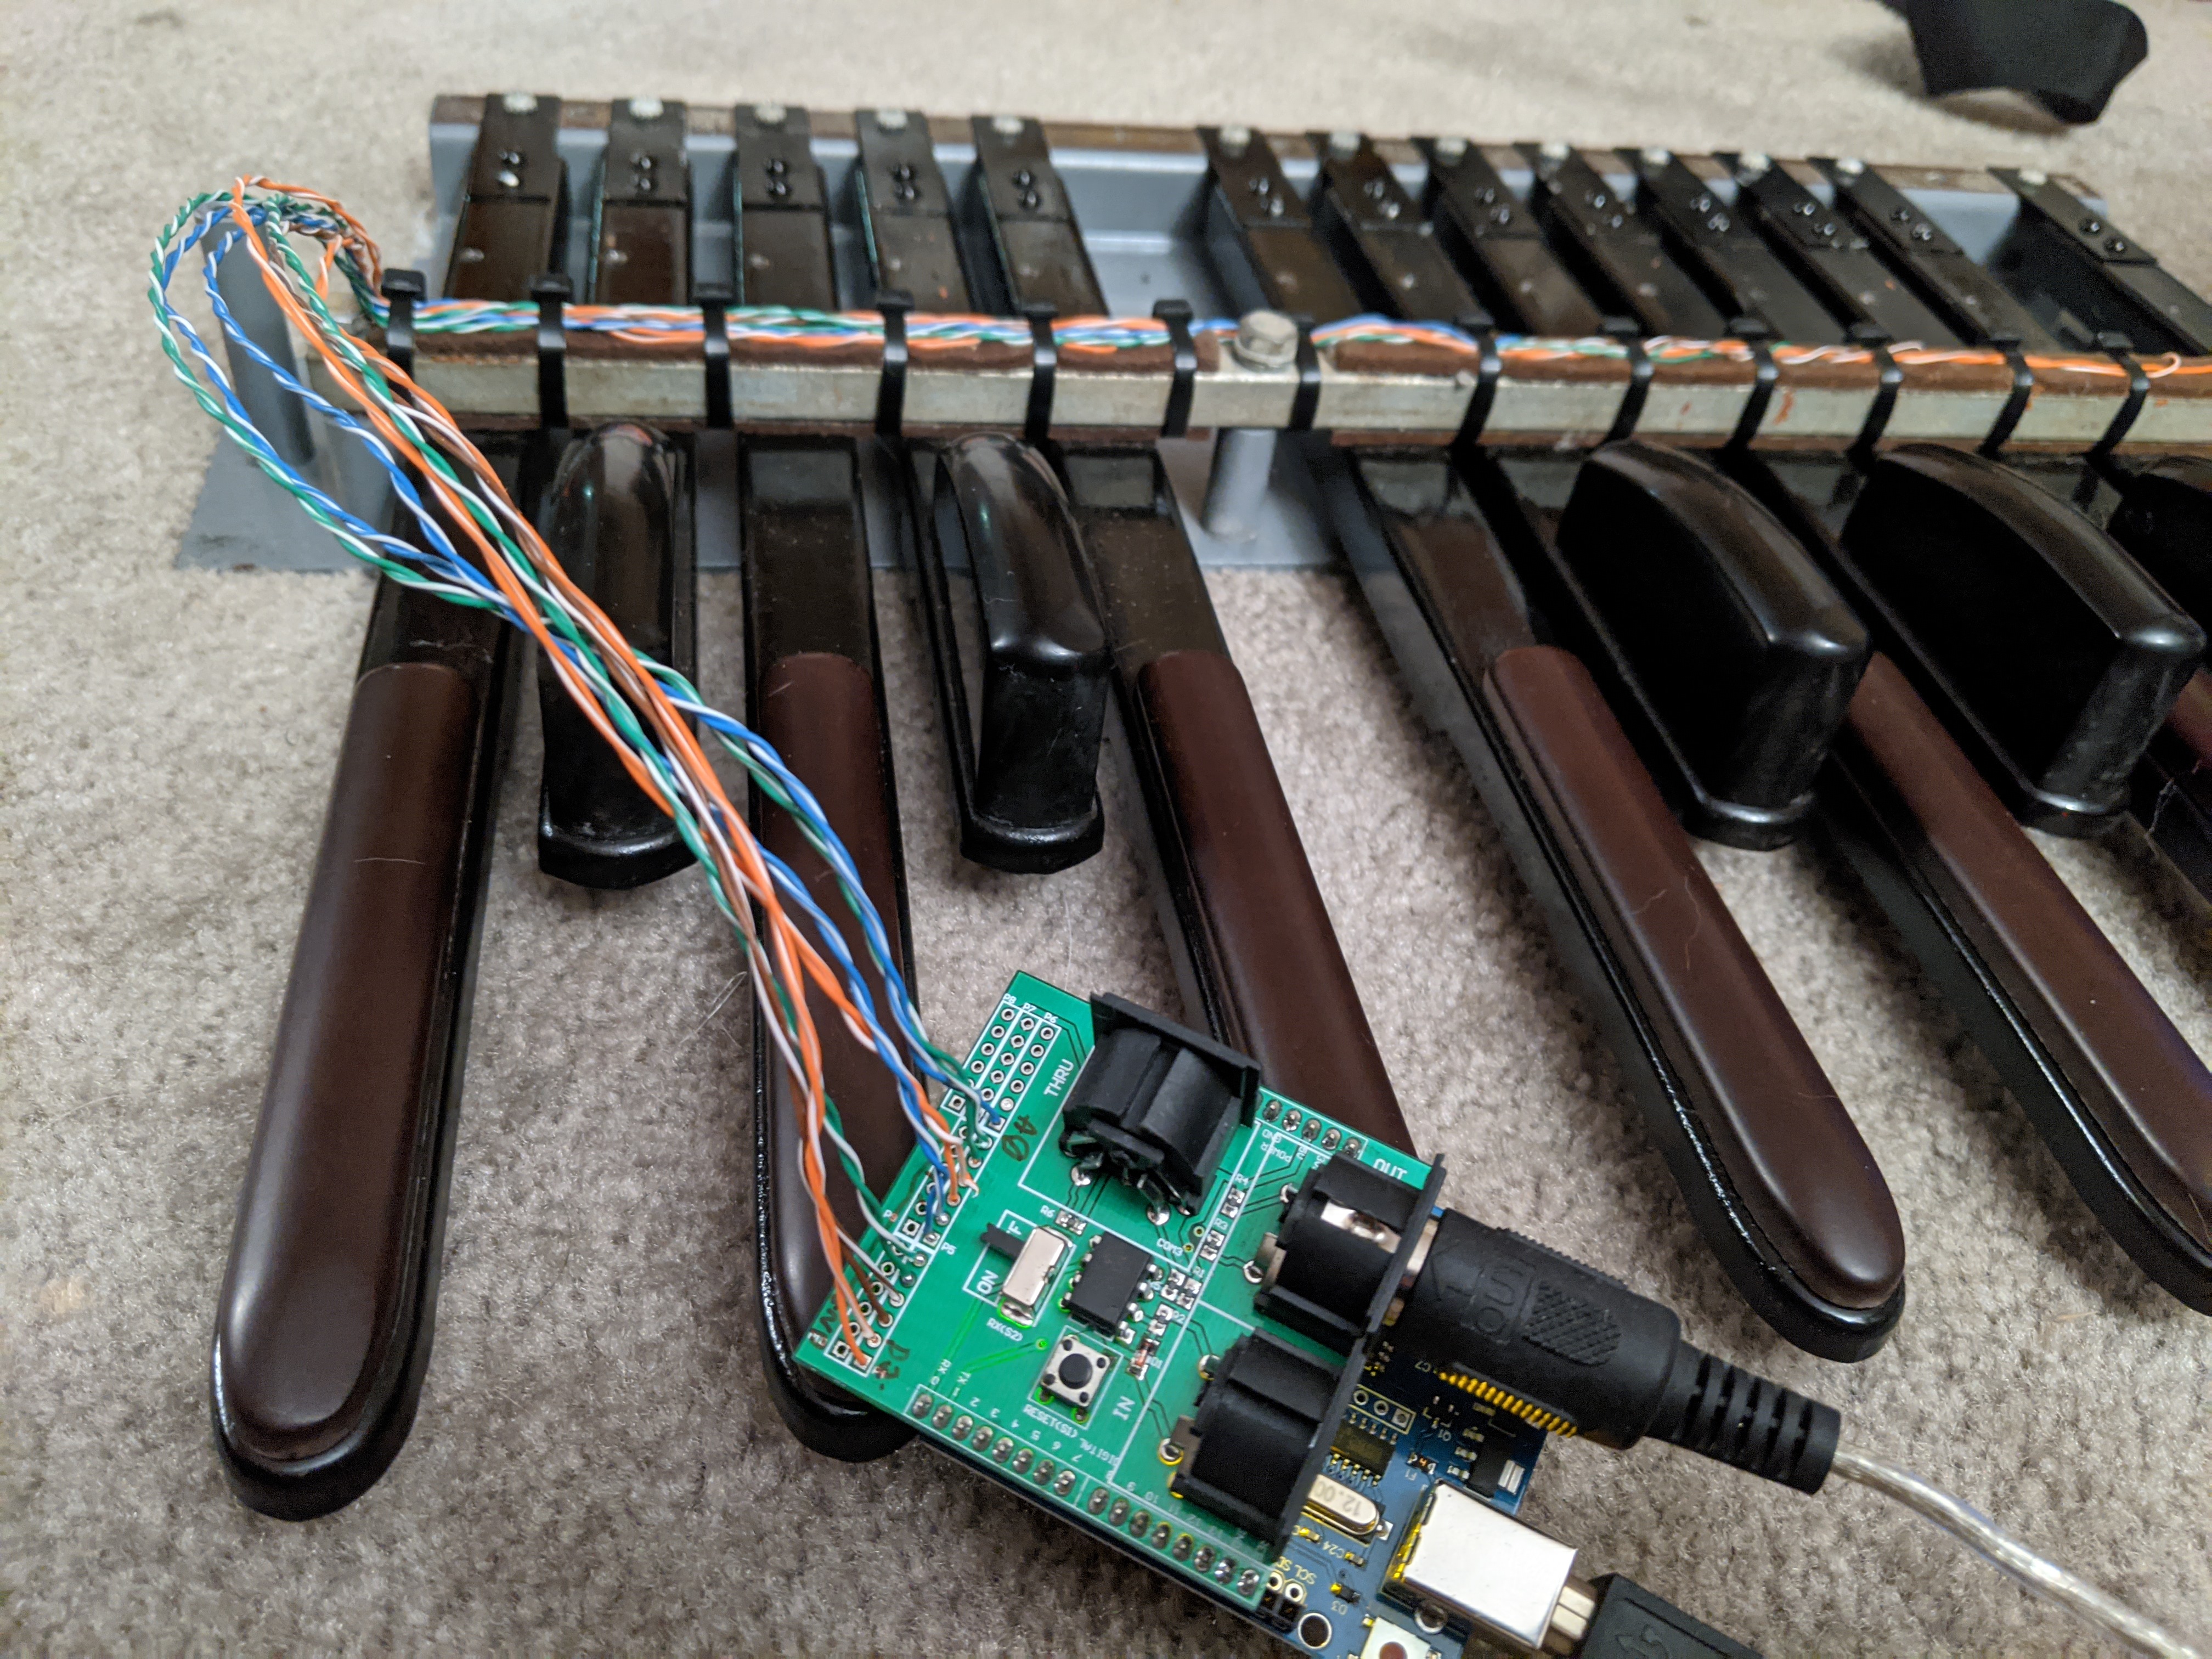
After securing the wiring to the frame with a large amount of zip-ties(Vibration!) I wired it up to an Arduino with a MIDI shield. The shield itself has pads for digital and analog IO, so I used those rather than solder directly to the Arduino.

Programming time! Yay!
There were a few challenges but it turns out I’m still pretty good at C/C++.
Floorgan source code

The almost-finished product. For the wood I used some hand-mixed stain, two coats of tung oil finish, and two coats of satin polyurethane. One coat every 2 days to ensure a good cure.
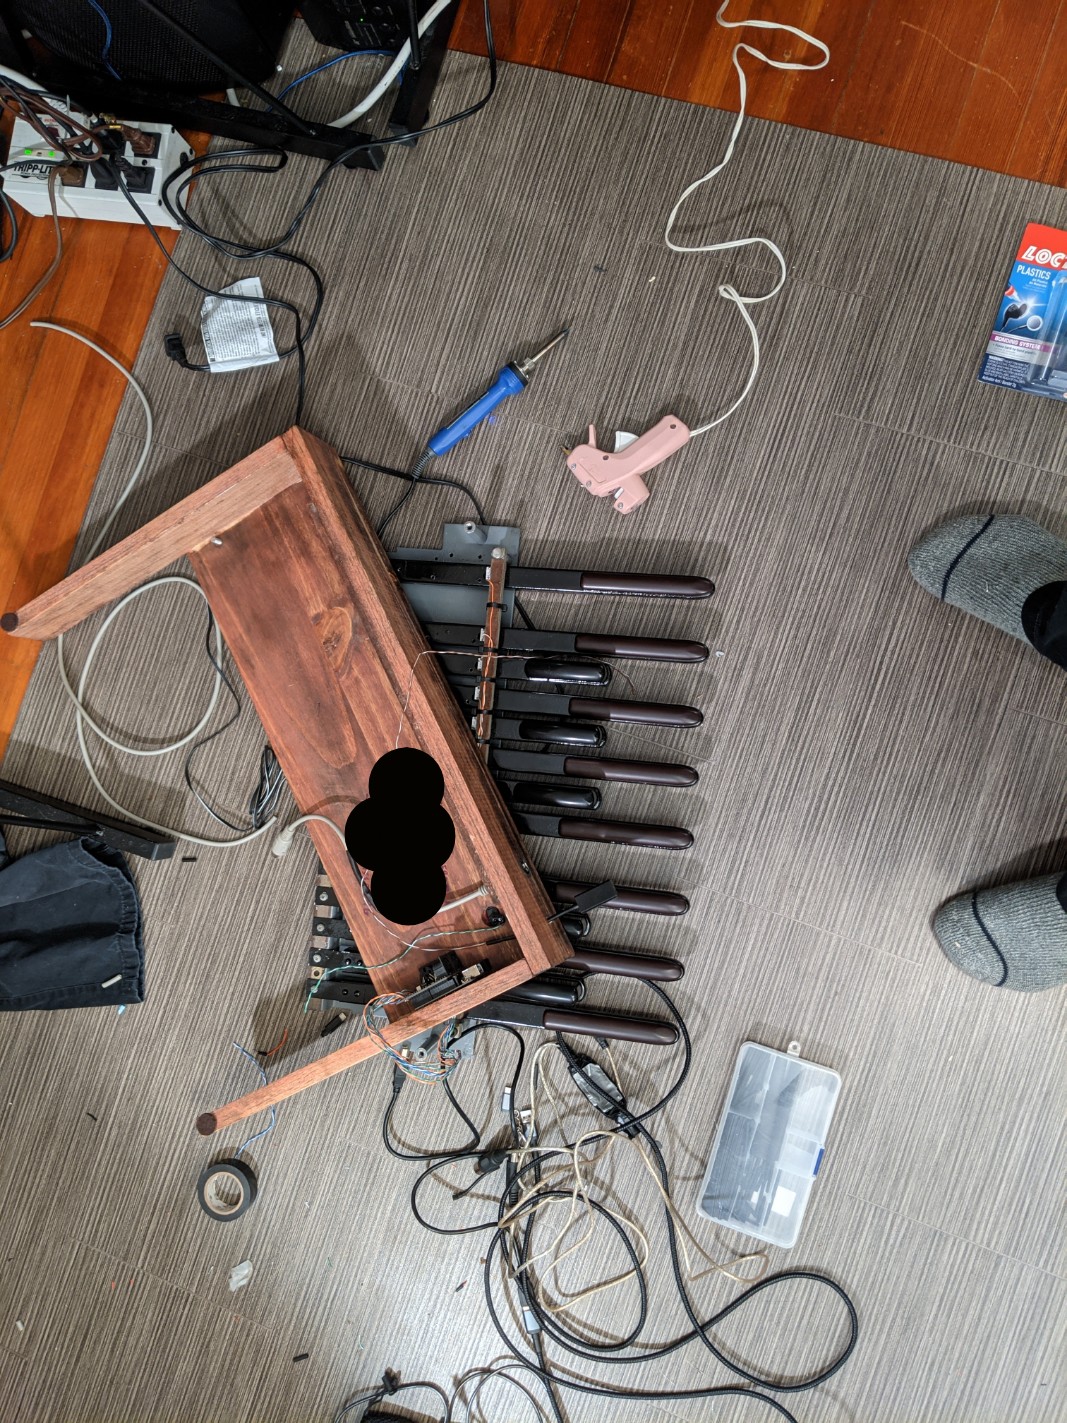
Final assembly time! The black spots are because I signed the interior of the case and wrote a note: “Engineered for my father from a 1940s wurlitzer organ, xmas 2022”
I had to create a short MIDI extension cable to get the port outside the case, provide power, etc. It came together nicely though and should be very easy to disassemble and tinker with in the future. Can’t show more pics because.. signed.
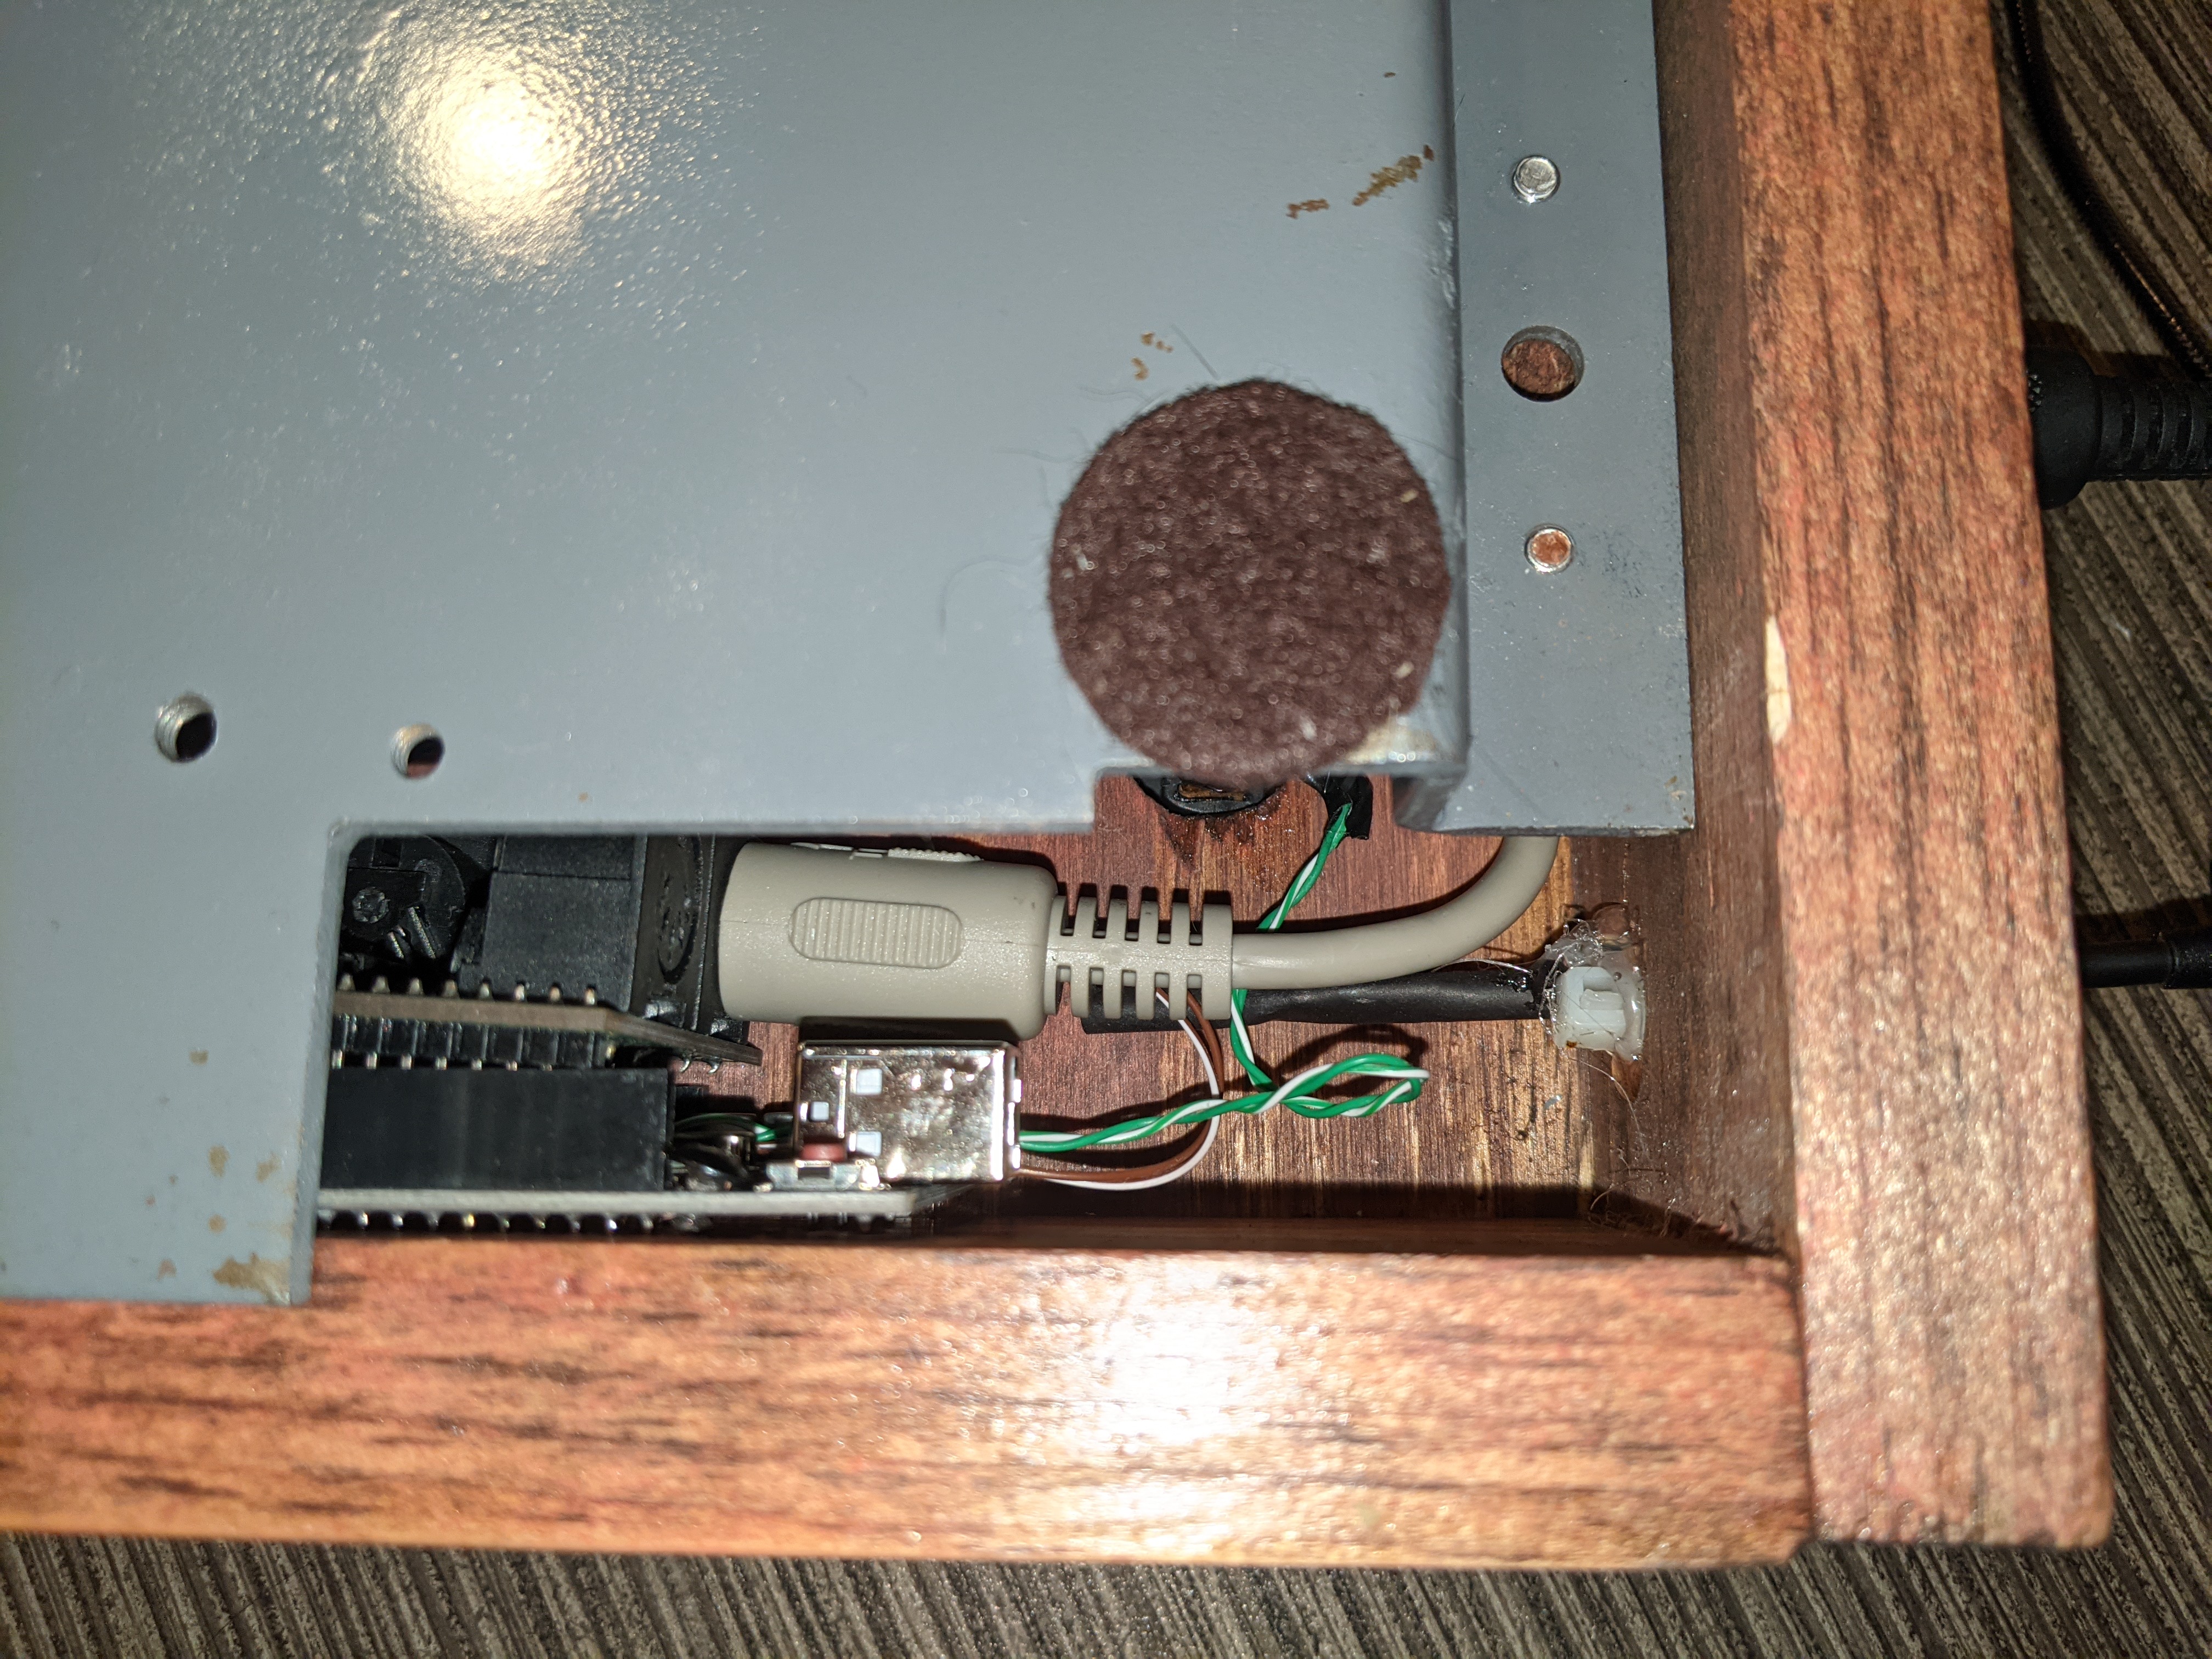
The underside. Can still get to the USB port on the arduino for re-programming. Nice.
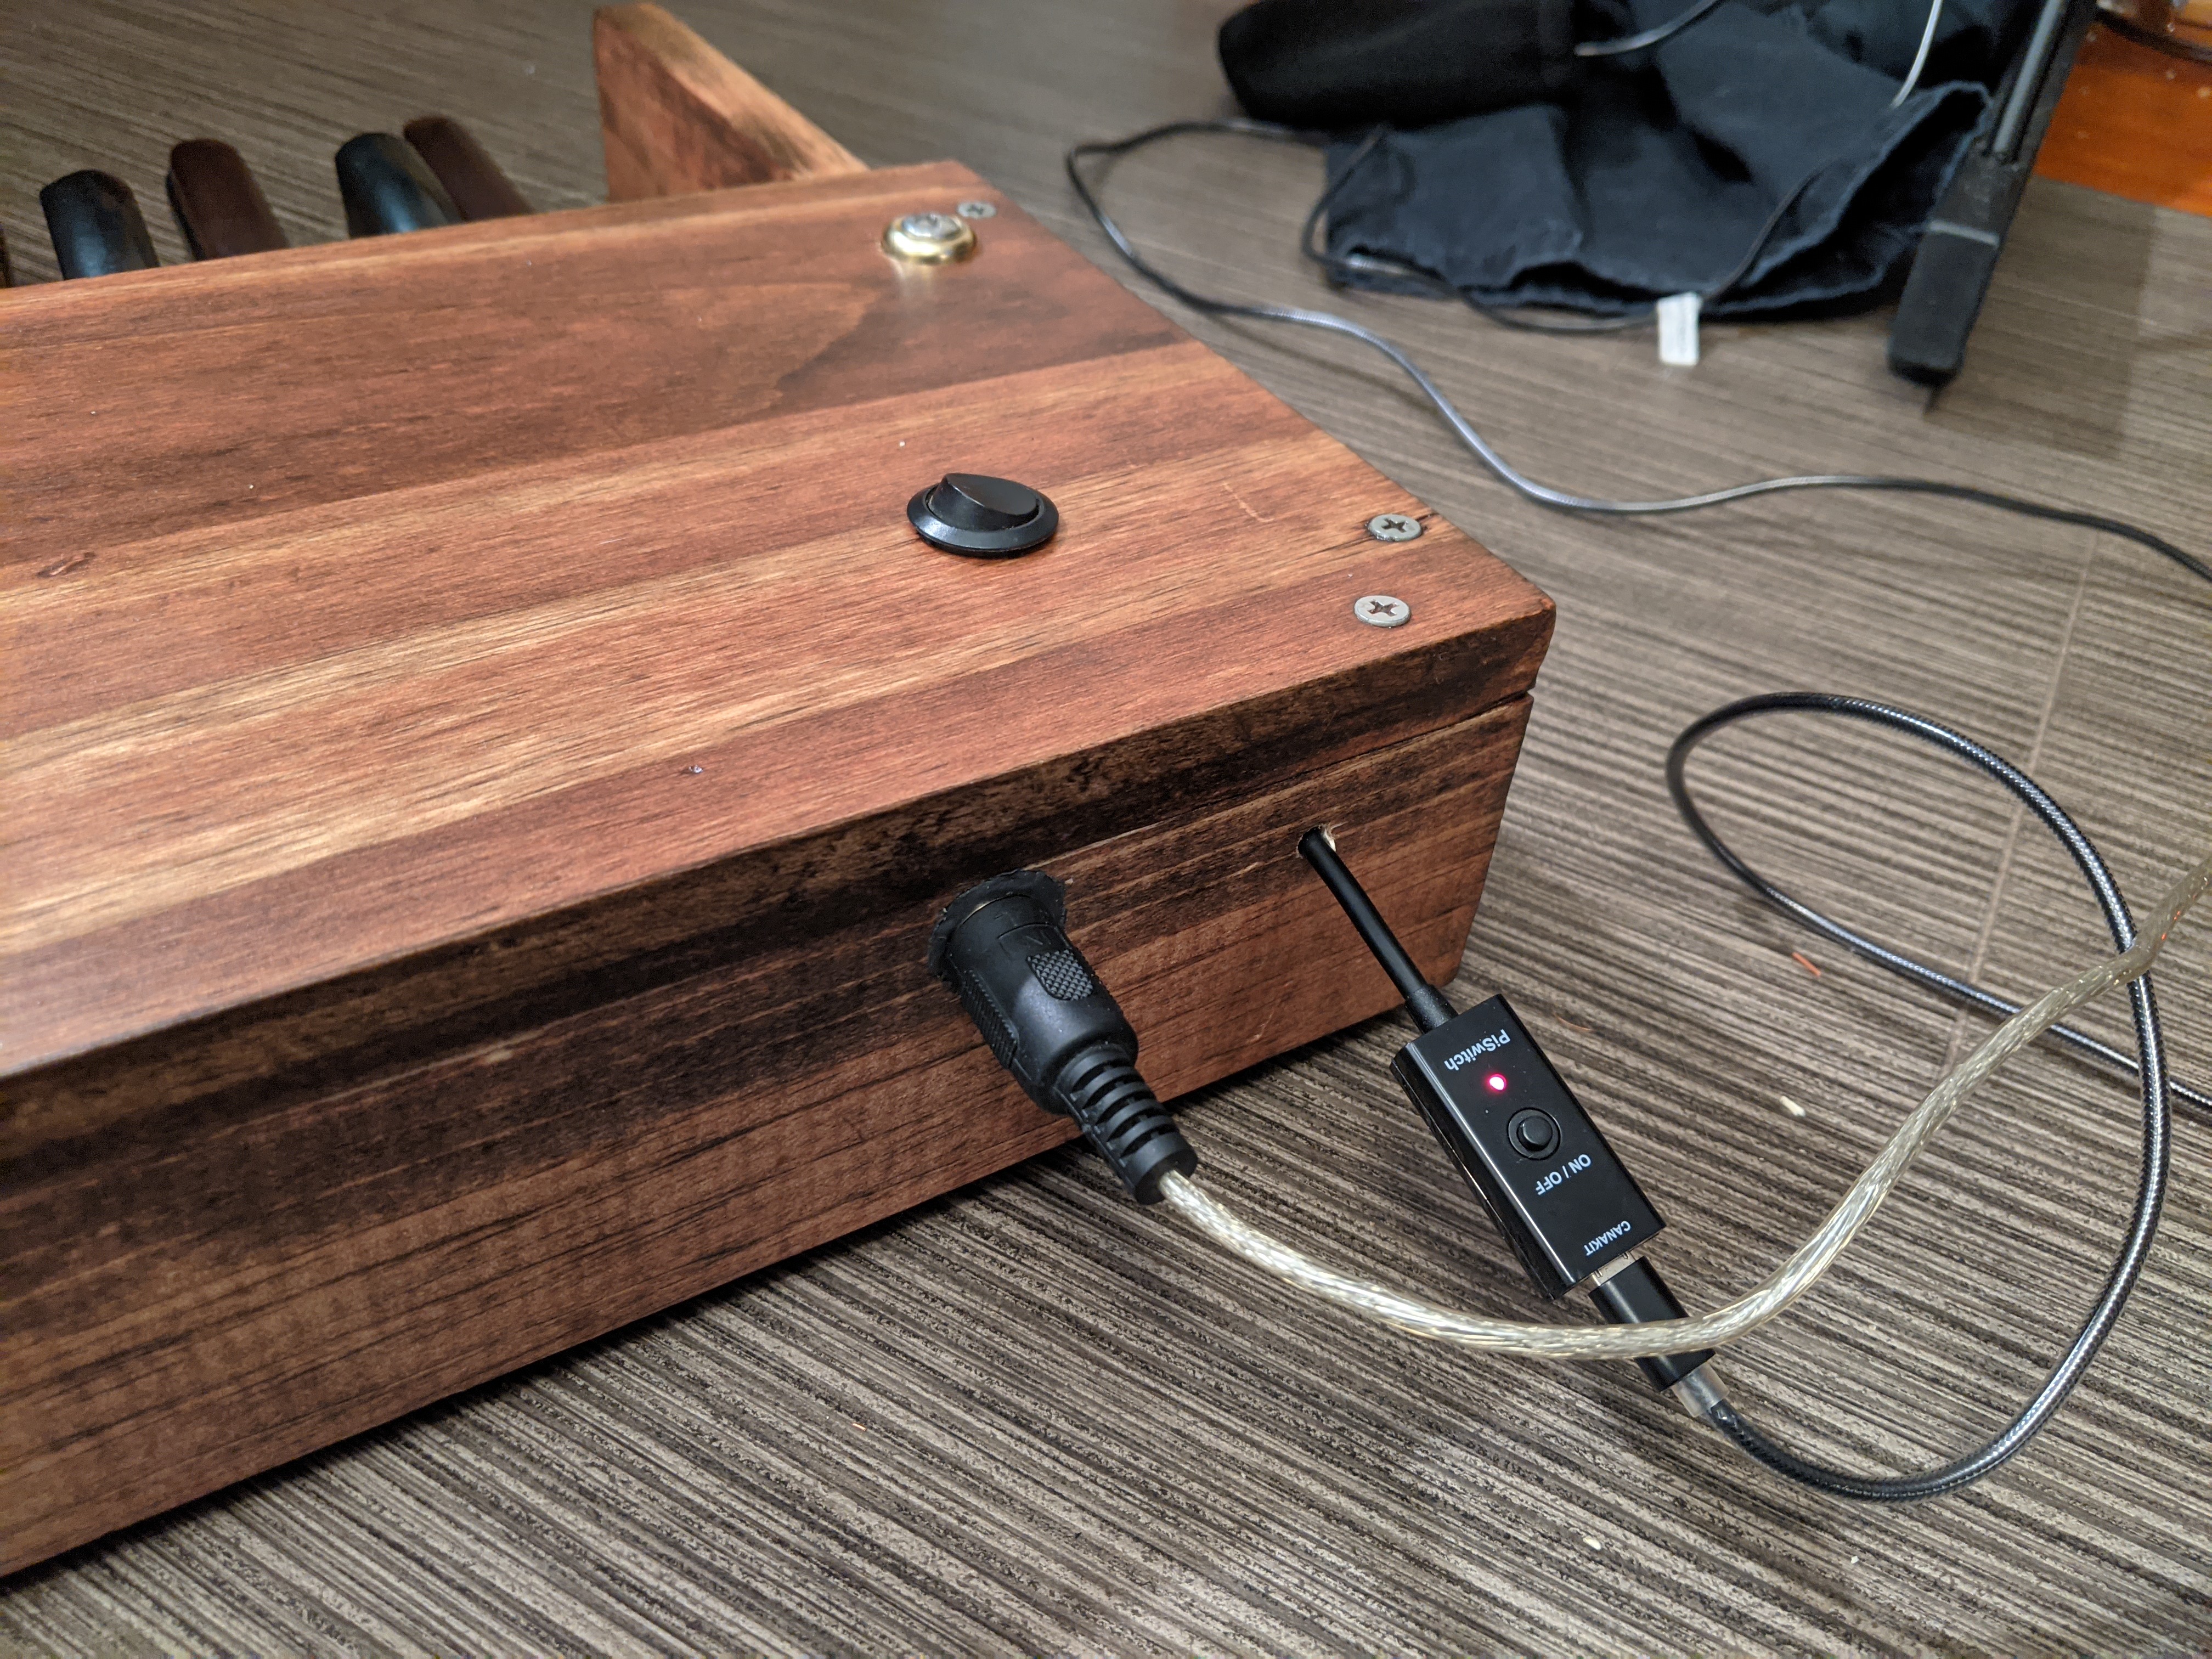
The rear
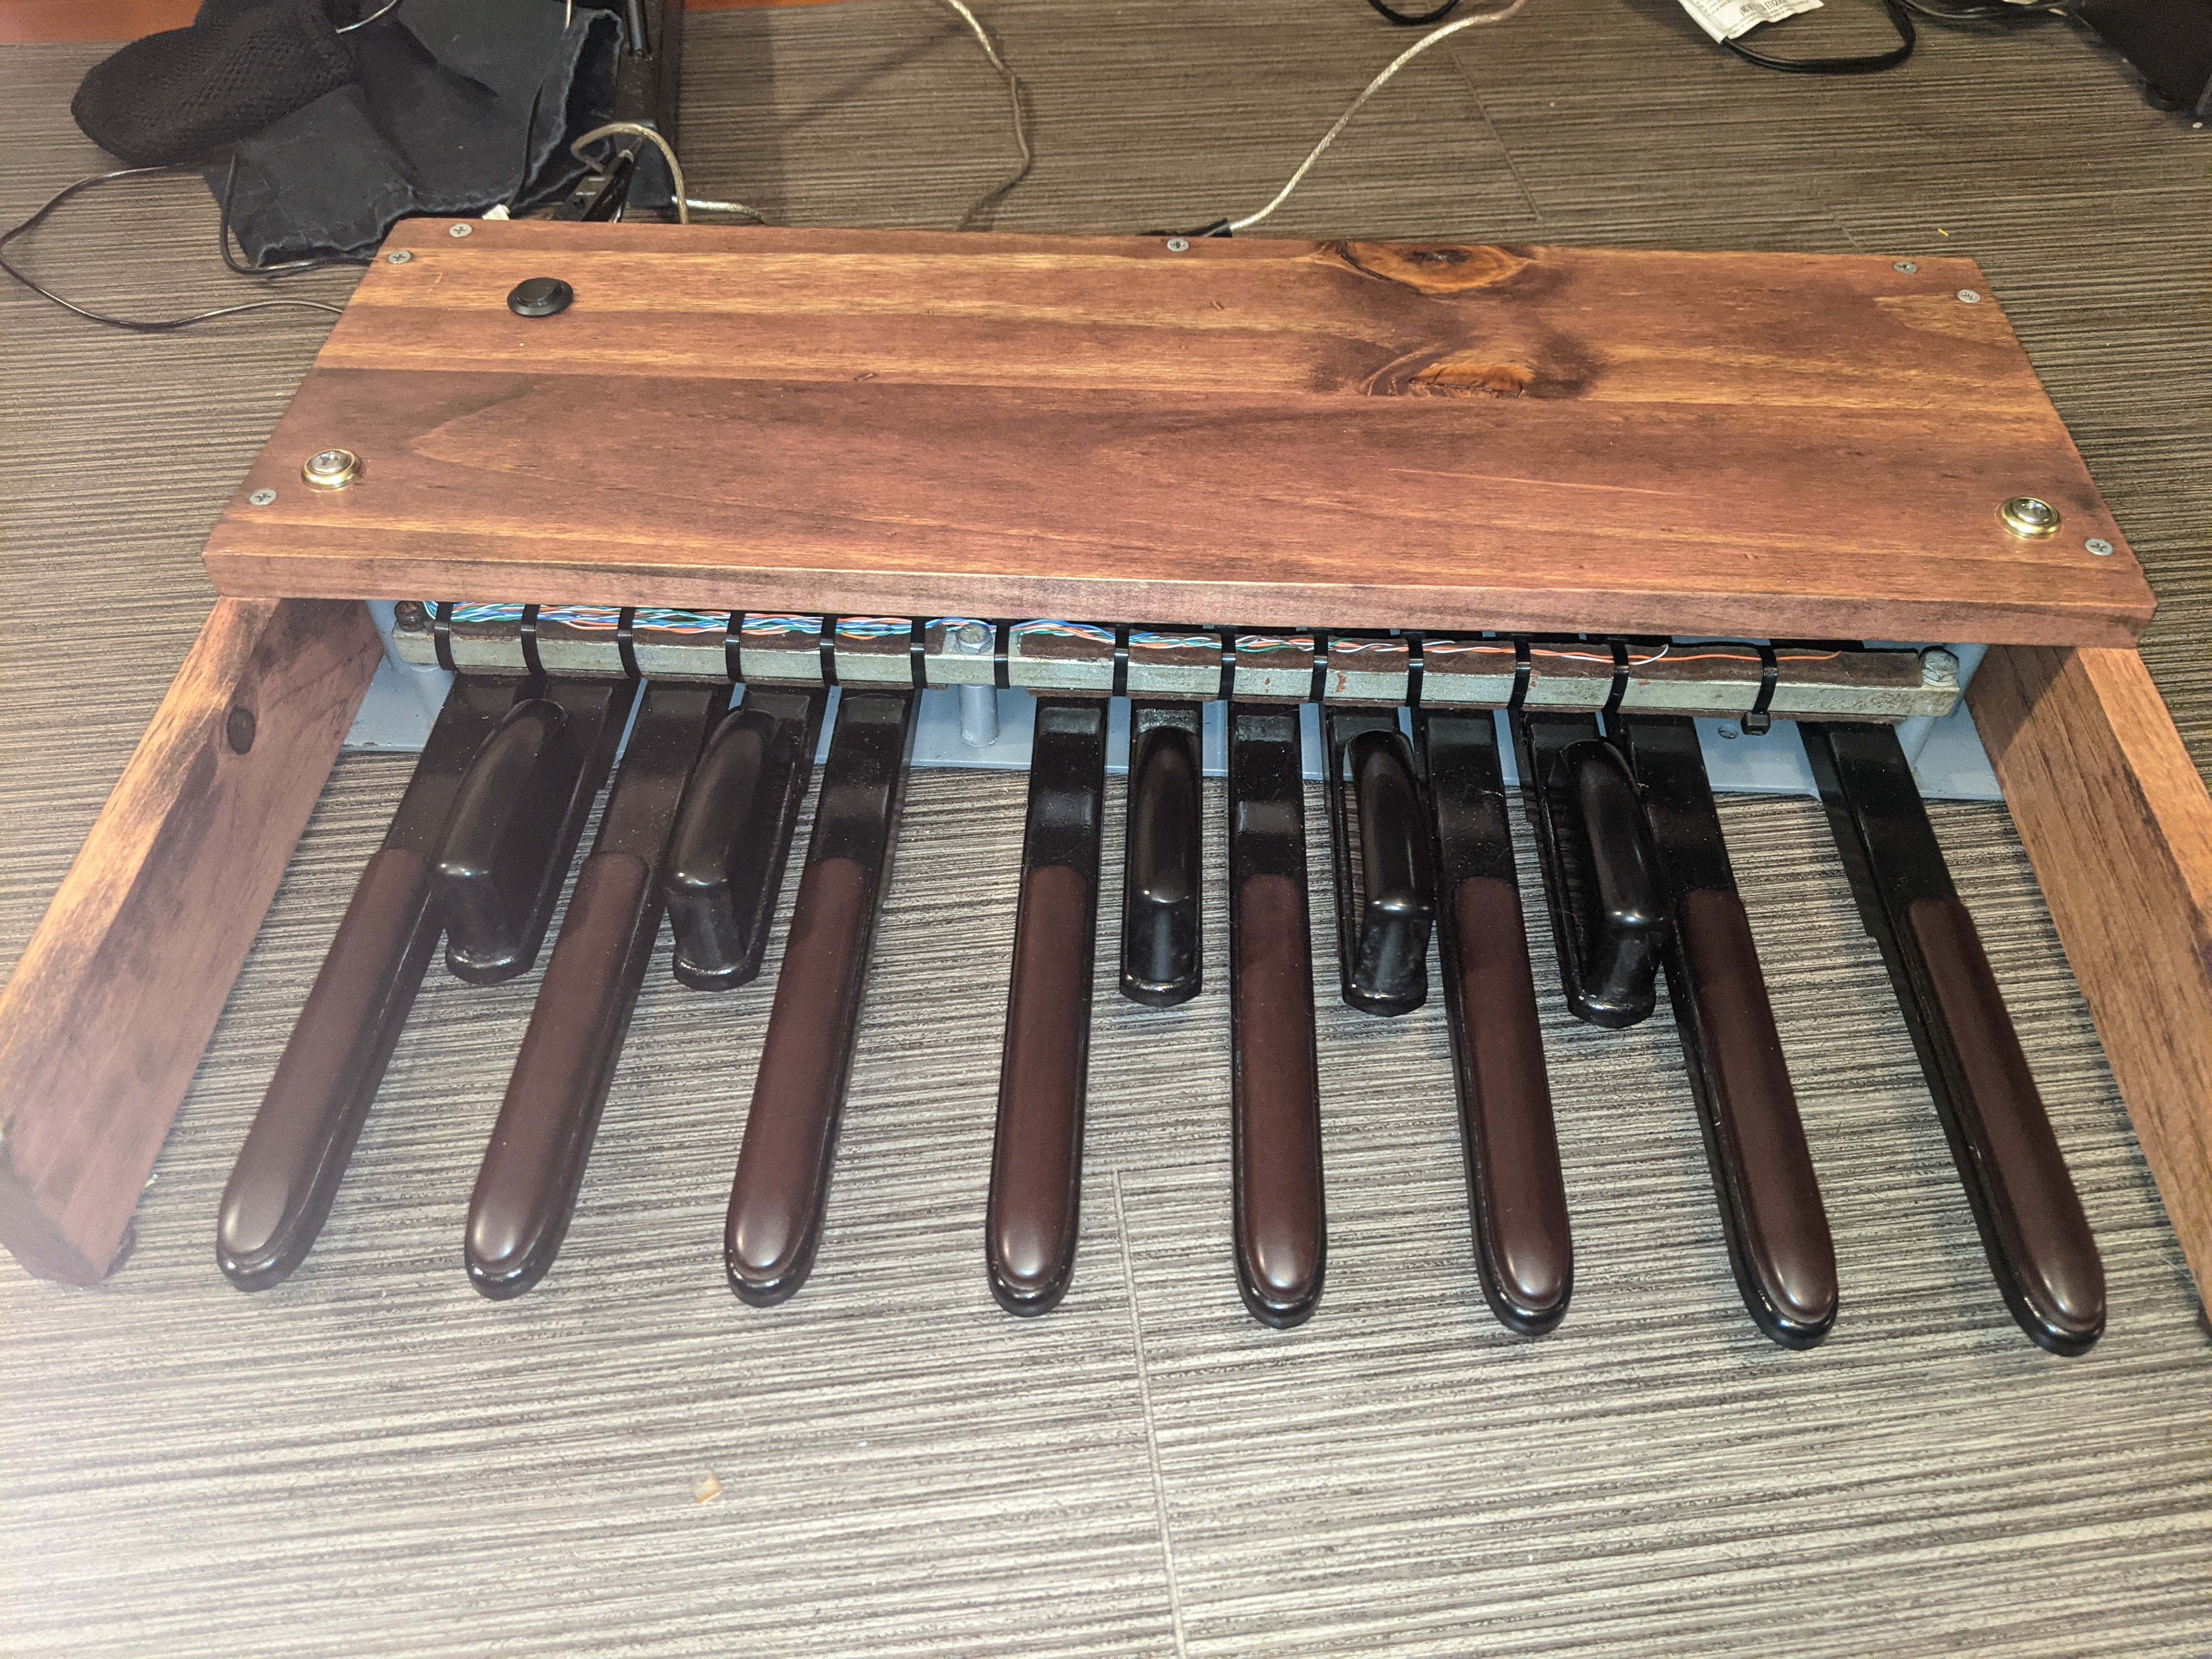
The front
Conclusion
This is one of the coolest and well-constructed things I’ve ever made. If I could play a keyboard with my feet I’d have kept it.
Instead, I gave it to my father today. He was EXTREMELY HAPPY. It works well sending MIDI notes to his Korg and Roland. We even figured out how to set things up so the floor pedals are on a different patch(instrument sound) than the main keyboard.